Sunday, February 28, 2016

Scrap Liv, KCW #3

I love this skirt, made from the free Liv pattern and left over scraps of making four garments from four fat quarter jersery's that I got from Droomstoffen (here are garment one and two). Logically, I would blog about this skirt last, but I just wanted to show you this one so much.


I had several small scraps, and I started with putting those small scraps together by the quilt-as-you-go method. The idea behind the method is that you start with two small pieces, take your rotary cutter and cut two straight sides (one on each piece). Sew those two straight sides together, re-cut the combined piece such that it has a straight edge (and the two previously sewed pieces are both are a part of that straight edge), and sew that to a third piece (with a straight cut edge).


Creating the first side of the skirt (which ended up as the front) was the easy part, I just sewed small pieces together, and went with it. For the second part, I was out of really small scraps and actually had to cut tiny pieces myself (which was surprisingly more difficult than just using small pieces). When I had two sizeable pieces, I just cut the two Liv pattern pieces and sewed them together. I decided against adding pockets (I know, I was surprised too). I feared pockets would be too much.


I had planned to make the waistband in one color, I managed to cut a piece just big enough. But, I lost track of the piece and ended up cutting a piece from the waistband to add to the skirt. This led me to re-puzzle a waistband together. I am very satisfied with the patched waist band, it is even better.


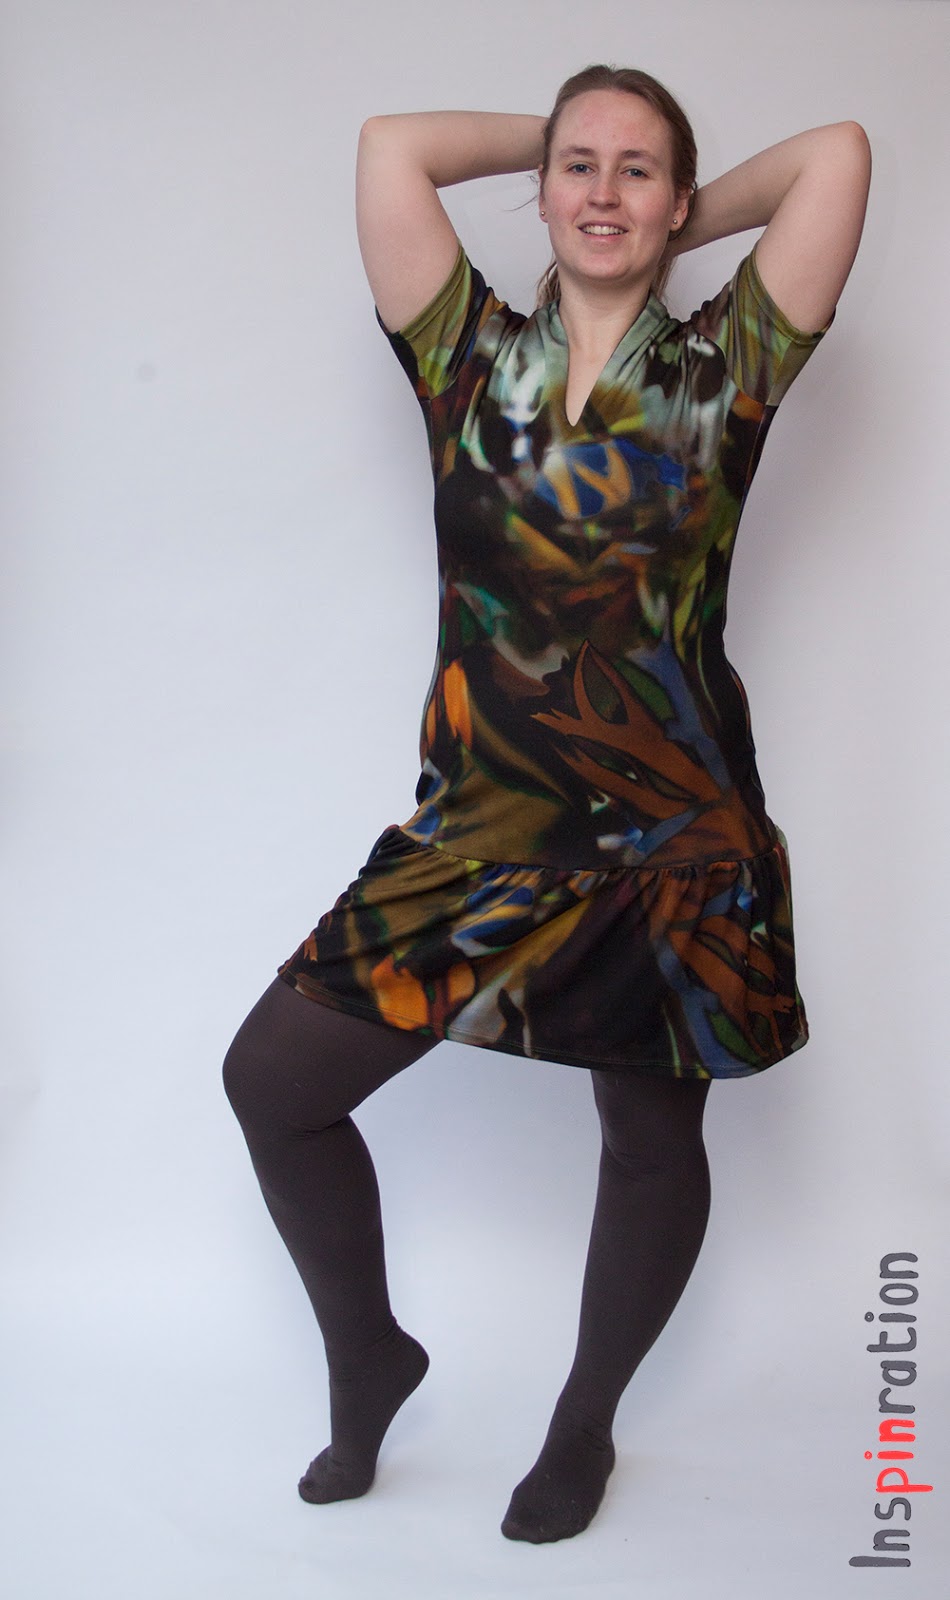
You can find all four fabrics, and many more black and white versions at Droomstoffen! I am in love with those penguins, I had only a few tiny pieces left (after making this garment, and the one that will blogged about later), but I really wanted to use them, so they actually inspired me to go for a quilted look. The free Liv pattern is available both in Dutch and English.

I love to hear what you think of my creations. Feel free to leave a comment in the language you prefer (although Google translate might have to assist me if you choose something different than English, German, Dutch or Hungarian).   

Friday, February 26, 2016

Zozo tunic, KCW #2

Yesterday, I told you about the black and white fabric I got from Droomstoffen, and today I am showing you another sew I made with one of those small pieces. I made a Zozo, it is a free pattern from Blaverry. Of course, I hacked it slightly.


The Zozo has a triangular shape, giving a nice drape on both sides. I foresaw that the drape on my 80 cm tall girls would not be ideal, so I went for a high-low tunic look. The front is still a horizontal line, but the back is curved.


It was a challenge to cut the dress from the small piece, but by turning the fabric 90 degrees (so actually cutting in the wrong direction) and splitting the back in two, I succeeded. The fabric has a great four way stretch, so cutting the fabric in the other direction was no problem. I turned the fabric, because this way the triangles were facing the same way (to the side) both on the front and back. If I would have cut the fabric in its normal direction, the triangles would have been up on the front and down on the back.


The back seam is not perfect, but it is pretty close to being invisible, only at the top the triangles became trapezes. I had not thought about an invisible back seam while cutting, I had made sure the triangles were on the same height, but the other dimension I did not think about well enough.


I had cut the dress a bit short, even for a tunic (the pattern piece looked so long to me that I had cut it shorter), so I decided to add a visible black line at the bottom. This way I even added a bit of length, instead of loosing some by hemming. I think it really nicely frames the garment.


She had been wearing that pink necklace all day, and it really was the perfect accessory to the dress. She was also the one who decided it would be a great belt too. This black and white fabric is totally in line with the typical Blaverry style. You can buy the fabric here and the free pattern can be downloaded here.


I love to hear what you think of my creations. Feel free to leave a comment in the language you prefer (although Google translate might have to assist me if you choose something different than English, German, Dutch or Hungarian).   

Thursday, February 25, 2016

Kids Clothes Week Winter 2016 #1

Droomstoffen stocked up on several beautiful black and white fabrics. A few of her blogger team members received four "jersey fat quarters". The original fabric is 140 cm wide, so we got about 70 cm wide times half a meter long (the length might have been a bit more on some of the pieces). Getting such a gift is right up in my alley, I loved the challenge to turn the pieces in full garments.


It is Kids Clothes Week, which means sewing for at least one hour a day, and I have been cutting and sewing several hours this week already. Today, I will show you the garment I started last, but finished first (seeing I only used my serger, no twin needle needed). I had already used both fabrics for something else and while investigating the remnants, I figured I could turn them into a Lila. A shorts jumpsuit Lila, because I did not have enough fabric for a full leg version.


I crafted an alternative bow (being lazy to read up on that pretty bow I had seen earlier). When using two different fabrics, I think it is advisable to use something to break the contrast. I am not sure if my bow was the best way, but it will have to do. In my one-fabric Lila I am not missing the extra detail, but in my earlier created color blocked Lila, the little flap is a true eye catcher.


I did not make a snap bottom opening on the jumpsuit (following her lead). My daughter is on track of not needing a diaper anymore, and I hope that in summer she will only wear her underwear. She does need help in getting the jumpsuit on and off, but that would not have been different if there would have been snaps.


The fabrics I used for this jumpsuit are this penguin and geometric fabric. Check them out in the Droomstoffen fabric store, you will love them for sure. So, no official theme sewing for me this time, my own theme for this season is black and white. You can check out some other sews on black and white from the blogger team here. She coincidentally also used the Lila pattern.


I love to hear what you think of my creations. Feel free to leave a comment in the language you prefer (although Google translate might have to assist me if you choose something different than English, German, Dutch or Hungarian).  

Wednesday, February 24, 2016

Project Run and Play: signature style, the scraps Hibernis

We are in the last week of this season's Project Run and Play, so the theme is "signature style". In my first fourth week of Project Run and Play, I wrote I did not know what my signature style was. Now, I have an idea. It definitely involves jersey, there have to be pockets, a bold combination of fabrics (and the garment therefore usually doesn't fit with any of the other garment in my kid's closet) and often it involves a hack (that did not change).


If I would make a the list of designers I sew from often, Sofilantjes* would be at the top of the list. I have done several tests in the last year for Sofilantjes, and also when I am not testing, I often use her patterns. For example, I used the Nivalis for this season's week two. I therefore decided on a pattern from Sofilantjes, the Hibernis* for my signature style and hack it into one size smaller (to a chest 48 cm) for my very skinny 2 year old, with a huge baby belly.


Throwing away fabric is hard for me, so I kind a save all. The smaller scraps go in big bags to be used as filling (once I will need them for sure), but the bit bigger scraps go back in the fabric closet. I had some weird shaped scraps from this dress, of which one small part had the bunny bear pair on it. For my youngest I had to make the top of my front pattern piece narrower and the bottom wider (to accompany that huge belly) and this way the scrap was the perfect size for my Hibernis front panel.


I managed to cut two pockets, two side pieces (one horizontal and one vertical) and two wrist pieces from my Finch Fabric scraps as well. These pieces had been in my stash for months because I did not know with what to combine it. When I tested the woman Legend some scraps remained and they formed a nice combination with the brown and green from Finch Fabric.


I really love how the garment turned out and it definitely fits the does-not-fit-with-anything style. I combined the shirt with her only pair of jeans, and they are a bit short (yeh for cropped pictures), but the neutral blue was perfect to balance the bold shirt. She was very pleased when I pointed out the pockets to her, for the rest of the shoot she refused to take her hands out of them.


I also would like to show you a different view of the Hibernis I sewed during testing. I was a bad girl, and put the tabs on the outside of the neckband. In my defense this hack is not visible in the pictures with cowl. Now that the pattern is out for a few weeks, I do want to show you how our shirt looks like without the cowl. The tabs are snapped in place on the upper arms and are a nice extra detail to the shirt. If the cowl is on, the arm snaps are visible, but I chose a color that perfectly matches the print.


I hope that next season's end my signature style will be a totally self drafted garment. I love to hear what you think of my creations. Feel free to leave a comment in the language you prefer (although Google translate might have to assist me if you choose something different than English, German, Dutch or Hungarian). If you buy anything through my affiliate links (the one indicated with a *), I get a small commission (the price stays the same for you), I am very grateful for everything that feeds my fabric addiction.


Monday, February 22, 2016

Ladies Legend dress

Last week, I showed you the girl Legend, slightly hacked. Today, I am showing you the ladies Legend, exactly as the pattern prescribed. The Legend is the newest pattern from Sew Straight and Gather. It is a very versatile pattern including three sleeve lengths on a top or two types of dresses.


In my previous post, I already told you most there is to tell about the pattern. so let's focus on the fabric. I won the fabric a few months ago at Ellen Naait. It is Ponta Di Roma and such a lovely quality. Nice and thick but not stiff. It was originally a corral reef print (or at least it seems that to me), just check out the original pictures of the fabric. Now that the fabric became a dress it is just a nice combination of different color shades.


The fabric came from Madeline de Stoffenmadam but you can not buy it there now. The store burned out a few weeks ago. Many people are rebuilding the store in the building next door. The first fabric has already been sold and if you want to support the store you can also already order online.


It still feel awkward to pose for pictures, my kids seem to have a natural relationship with the camera but I do not. I need help with pictures, so my mother shot them. My tripod does not handle portrait pictures and I fear the whole thing would fall over with the heavy flash on it anyway.


The pattern is not on sale any more, but it is definitely worth the normal price! And yes, I know it is still Project Run and Play and actually Kids Clothes Week, kid's clothes will probably come later this week. With this dress I sewed myself some love.


I love to hear what you think of my creations. Feel free to leave a comment in the language you prefer (although Google translate might have to assist me if you choose something different than English, German, Dutch or Hungarian).  

Friday, February 19, 2016

The Mackinaw Coat

Today, it is my turn to show you the Mackinaw Coat I sewed during testing for Call Ajaire last month. The pattern is officially for a warm winter coat, but seeing as we are going towards spring (at least I am hoping so), I sewed up a coat without batting. The pattern has two collar sizes (standard and dramatic), and a unisex (straight) and girl (with pleats) version. I sewed the unisex with standard collar for my son.


The shape of the coat is inspired by the traditional Mackinaw coats, which have side seams that curve to the back and low arm cycles. I often read that some patterns are like a sewing class, well this one would definitely fit that category. This pattern shows you how to bag a lining, make bounded button holes and a built in button loop. Due to my son's narrow frame I decided against the sash, but here you can see a boy with a sash, how cool is that back!


I also did not do the bounded button holes, because I simply do not have any nice buttons in my stash. I stocked up on snaps, totally ignoring buttons. For this coat, I therefore also used snaps. I used the same blue for the snaps as the blue from the lining. Both snaps and regular button holes work fine, but for an extra nice finish bounded button holes are great skill to master. I decided to have a faux pipping effect on the front by placing the snaps such that the lining peeks a bit


The sleeves are in two pieces to give more freedom movement, that is why there is an extra seam on the elbow side. Another thing I learned through this pattern. Now, I realise I forgot to make a pictures from the coat's inside. Which is a pity because that would show how the main fabric curves inwards at the bottom obscuring the lining from view. This neat finish does mean that you have to cut separate pattern pieces for the lining and the main fabric. Fortunately the pattern contains a very handy table to not loose oversight over those 25+ pattern pieces.


I used red denim as main fabric and Soft Cactus for the lining. I bought the denim online (like I do with almost all my fabric), but I feel that "red" might be overstating it a bit. When I got it, I felt it looked more more raspberry. I asked my husband, but he told me it was red. Now that the coat is finished I really feel it is  bit too pinkish. Therefore the coat might be worn more by my middle daughter, but I am not sure yet, my son describes it as his fancy coat. So with his love for pink, but fear to wear it at school, this might be the perfect shade for him.


Until the 21st of February the coat is on 25% introduction sale with a code that you can get in the Call Ajaire patterns Facebook group.

I love to hear what you think of my creations. Feel free to leave a comment in the language you prefer (although Google translate might have to assist me if you choose something different than English, German, Dutch or Hungarian). 

Thursday, February 18, 2016

Legends dress for Project run and play week 3

We are already in week three of Project Run and Play and this week's theme is "glitter". This theme was the hardest for me, I never sew with glitter. This over-the-top dress is probably the only exception. Now that my entry is finished, I think it is actually the best one I sewed this season. The newest pattern from Sew Straight & Gather and the web shop Droomstoffen saved the day (or week).


Let's start with the pattern. Yesterday, Sew Straight & Gather released the Legend dress and top pattern both in girl and women sizes. I was one of the lucky ones to test the women's version, but you will have to wait for my tester dress (the PRP link up is only open for two more days). The tester group was flooded with beautiful pictures and I just had to have the girl's version of the pattern as well.


This is not a tester dress, which means I could immediately hack the pattern. The bodice part is the original Legend but the skirt is an upcycled piece. Two years ago I got a super cute (second hand) garment, but my girls never wore it, the glitters were itchy under their arms and the length was off for my skinny girls. The garment has been on my upcycle pile for a while, but I never dared to use it. For this dress I only used the skirt part, but the top glitter will be used as well for sure.


The bodice of the Legend is geniusly designed. The collar is actually a part of the front bodice and the pattern has a beautiful finish on the inside. Almost all seams are hidden between the two front bodice layers. I slightly adjusted the hemming method of the sleeves. I feared that a traditional hem would be itchy (the sequins would be on the inside). I cut two strips from the side of the fabric, the wide selvedge does not have sequins, and removed the rest of the sequins from the strip. I folded the strip and used my serger to sew it to the sleeves.


The bodice fabric was gifted to me by Droomstoffen. A while ago Droomstoffen was searching for bloggers who wanted to promote her store. I presume you can imagine my enthusiasm, getting free fabric is every sewists dream. I was over the moon when I was selected and therefore I also added a logo to my blog. My first sponsor, yeh! We were allowed to pick our favorite fabrics from among a huge selection and when I saw this sequin fabric, I immediatly saw possibilities for this week's Run and Play theme. I did not own real glittery fabric and am trying to not buy fabric, so Droomstoffen really was a life saver! Make sure you check out the store, she sends internationally and just received a huge amount of black and white fabrics!


Let's tell you a bit more over this fabric. It is a blended grey jersey and it is covered in two different sized sequins. I never sewed this type of fabric and I heard horror stories about breaking needles. I was a bit nervous when I started sewing, but there was no need to fear. Both my serger and sewing machine could handle the fabric without problems. It is hard to make good pictures, I hope you see how nice it looks.


The Legend pattern is on sale for two more days for just 5 Canadian Dollars, which is a bit over 3 Euros. It is a great bargain, and you should consider buying both the women and girl version. Check out the pattern in the Sew Straight & Gather webshop!


I love to hear what you think of my creations. Feel free to leave a comment in the language you prefer (although Google translate might have to assist me if you choose something different than English, German, Dutch or Hungarian).