Saturday, November 29, 2014

Recykleer 14-daagse: Old jeans to fatboy patchwork cover

This is my fourth project while sewing along the two weeks of upcycling. Although I have not much to say about this project and also only have three pictures, I am very happy with it. When I sewed along for the denim challenge in Project Run and play I mentioned that I had recently cut all my old jeans into 15 by 30 cm rectangles because I was planning an upcycle project. Well, a few months later I finally actually started sewing and surprisingly managed to sew all the pieces together in one evening.


On Pinterest (where else) I saw this beautiful bed throw. Unfortunately a bed throw was not something we would use (at least my husband did not get exited about such a thing on our bed). Although a throw would not work in our house, I was sure that there had to be a project in which I could use this jeans patchwork. Then I realized that this would be perfect for a fatboy cover. We have grey fatboy, which I asked for my 22nd birthday, and which was until now covered with single duvet covers (much cheaper than the official covers and Ikea has a wide variety).


Over the previous months I decided to cut the rectangles again into squares and I sewed the pieces together with my serger. I was a bit afraid that my serger would not be able to handle four layers of stretch denim (when I just bought my serger I broke a needle trying to sew the sides of a jeans)  but my fears were unnecessary (those earlier mentioned jeans side seams were probably six to eight layers thick). I had such a huge pile of pieces that I assumed that I could easily sew a front and back to the cover, but it turned out that I was over-optimistic. I had plenty of pieces for one side, but two was not possible. I therefore simply used one of the duvet covers as the other side of our new fatboy cover. We all love the result, my husband as well, he might get regrets about his earlier veto.


Feel free to leave a comment in the language you prefer (although Google translate might have to assist me if you choose something different than English, German, Dutch or Hungarian).

Wednesday, November 26, 2014

Recykleer 14-daagse: From hubby shirt to my shirt

For the two week upcycle series I made myself a shirt. This is just the second shirt I made myself. Most of my sewing is done for the kids, which means that sewing for myself is still about getting out of my comfort zone.  The title of this post already shows that the sewing part for this garment was not very exiting. The sewing again required the same four seams as with the dress I made my eldest.


Below you find the "before" photo. You can see the shirt is only a bit too, so to give it a more female shape I only needed to take a few centimeters from the sides and narrowed the bodice part at the shoulders. I did not use a pattern, I just traced one of my well fitting shirts. The bottom width and sleeves remained the same. Because I knew the sleeves were long enough I simply cut the sleeves from the arm wholes and did not use my seam ripper.


I wanted to try the bleach drawing thing again, to see if I could get a lighter bleaching with real bleach. Although the bleaching is lighter, it still isn't white. I left the bleach on a whole night, so I do not know how people get it so much whiter, it might depend on the fabric as well. If I would have managed to create a perfectly white drawing, I would have made a dress with a drawing inspired by this one (thank you Olga for bringing this one to my attention). Now I have to reconsider those plans.


The drawing of this shirt was inspired by this picture. In that picture the lines are embroidered but I very much liked the idea of lines becoming letters. I copied the "love" part not being on the line, but adjusted the text to fit with my lifestyle. The bleached lines are not even, sometimes a few blobs came out of the bottle and I even managed to drip some bleach here and there, but I think these imperfections have their own charm.
 

Feel free to leave a comment in the language you prefer (although Google translate might have to assist me if you choose something different than English, German, Dutch or Hungarian).

Sunday, November 23, 2014

Recykleer 14-dagen: Baby outfit

For the 14 day upcycle sew along, I made a baby outfit. In my previous post I wrote that I would like to challenge my upcycle boundaries, for this outfit I therefore tried a new technique, drawing with bleach.


Let's start with the sweater. For my son's new coat I used the boards of one of my old sweaters. From the remains of that sweater I cut this new baby sweater. I kept the V neck, the neckline does not stretch but is wide enough to easily fit  her head.  Although nicely warm (I already mentioned I love knitted sweaters), the top was very boring. I therefore embroidered a heart on it. I am a true beginner when it comes to embroidery, so this heart is very basic but I like the result.


For the leggings I again used the free pattern from Emma and Mona. The fabric is from another old shirt of my husband. The color of the whole shirt was a color green which I am not a fan of (anymore). I already had put the shirt on the throw away pile, when I realized that this would be a great fabric to use a new technique on. I did not have to fear ruining the fabric, and I might end up something nice. I made my own bleach gel and drew an easy pattern by hand. For the gel I used a toilet cleaner which contains a percentage of bleach, instead of pure bleach. I felt that pure bleach would have given a much lighter effect (lesson for next time). The legging will not become my favorite wardrobe piece, but I feel that they combine fine with the sweater.


We bought the shoes for my son, our youngest is therefore the third child that is going to use them. I write "going" because this is the second time those shoes are on her feet (the first time was two days earlier when I tried to see if they would fit). Our youngest started to walk a few weeks ago (about the time when I made my Janneke), and she now walks like a pro inside bare feet. Now she is ready for her first strolls outside. The shoes are not girly, but I like the velcro and the rubber noses (for the occasional crawl outside). The green and brown from the shoes match perfectly with the green brown from the rest of our outfit. Our tomboy is ready for her first stroll.


My youngest does not mind photo shoots, but I need to use at least one prop to keep her from immediately walking towards me. I usually grab the first thing I see laying around that might keep her occupied for a few minutes, hence the red box. She took a few steps in her shoes, and seemed very proud, but she was looking like she had cement on her feet. I therefore took the shoes off after the shoot, but she did not agree and tried to put them on again herself.

Wednesday, November 19, 2014

Recykleer 14-dagen: Shirt to dress

Boomie is organizing an upcycle series. For two weeks she is featuring guests who make something beautiful from repurposed fabric and everybody can sew along and add pictures to the Flickr group. I read about the series a few months ago, and I liked the idea a lot. I love buying new fabric, putting beautiful pieces in my digital cart is exhilarating (I enjoy this high often, because usually I empty the cart at the end again, and can have the experience again the next day for free). Making a beautiful outfit from beautiful new fabric is great, but making a beautiful outfit from cloths you did not want to wear anymore,  gives me an even bigger thrill. Your fabric is free, you have to be more creative because you had to work with existing shapes and in my case I usually do not have to hem (as much).


We have a big pile of to-be-upcycled clothing and these series are a great way to decrease this pile (and make space for new fabric). In the past I have upcycled some outfits, but usually I made trousers from trousers and I made a coat from an old coat, not very creative (altough I also made this onesie and dress). My goal for these two weeks is to push my upcycle creativity level a bit.


To warm up, I started with the easiest dress ever. I took a dark blue shirt from my husband (this time I did not forget to take "before" pictures), cut a A-line dress from it keeping the collar intact. I drew new sleeves from the bottom of the old sleeves and sewed the whole thing together on my serger, using four seams, done! No hemming at all. My daughter loves her new dress, she claims she now looks like a grown up ( I might have to dial down of the happy fabric for her). It is her new favorite and she loves to tell people it was her fathers shirt. Normally, when I would be making such a dress I would cut the bottom a bit round. This time I did not do that to keep the original hemming. The dress is not very wide and it does not show that the sides are slightly longer than the middle. The fabric is very dark, and because we have to make pictures inside due to the weather it was hard to show of the dress well in the pictures.


The second dress I made is from two existing garments, one from me and one from my husband. I love knitted clothes but they take so much time compared to sewing. I find it hard to buy nice knitted fabric (the warmer type, bit bulkier knit, not the jersey fabric). I owned a blue sweater which had become a bit too big (and boring) of which I loved the knitted fabric and color. The shirt was screaming: "upycle me please". I was inspired by a beautiful dress from Probably Actually (this blog is so great, this pictures alone gives me tons of inspiration). I loved the color scheme and the vertical stripes of the dress in the middle.


I cut the bodice parts from the middle of the sweater to be able to keep the neck line. The neckline was not stretchy (and a bit high) so I also upcycled the button strips from the shoulders. Then I took the remaining lower part of the shirt as a whole for the ruffled skirt part. I again used my shoe lace trick to make elastic (empty) pipping at the waist, this time I used my sewing machine and regular zipper foot. My middle daughter wanted to wear the dress immediately, which is the sign of success at our house.


Feel free to leave a comment in the language you prefer (although Google translate might have to assist me if you choose something different than English, German, Dutch or Hungarian) 

Sunday, November 16, 2014

Selfish sewing

Earlier this week I read about the Match With Me, mother-son sewing series from Boy, oh By, oh Boy crafts. I immediately wanted to sew along. I assumed that my son would love some matching cloths and would enjoy a small joint photo shoot.


I looked through my stash and found two green-white matching jerseys from Birch. The fabric is super soft and I knew my son would love the feel on its skin. I quickly considered sewing a skirt for me and trousers for my son to have complete matching outfits but I settled for two hoodies. My son loves hoodies and I need some new shirts. In case you are tempted to quickly scroll forward to see our matching shirts, I have to disappoint you, because those pictures are not coming.

A few months ago I bought several Birch fabric jersey's on sale at Fabricworm. At that time I was in my right mind, and realized Birch jersey is not as wide as Lillestoff and bought 1 yard of deer and half a yard of a matching skinny chevron  to make my son something (the project was to be determined). From a total of one and a half yard I was never going to make two hoodies of which one adult sized. I realized this after cutting my paper pattern pieces and simply settled on a hoodie for myself. I thought it was time for some selfish sewing after weeks of kids cloths sewing. But as it turned out, making an adult hoodie was already a challenge with these fabric pieces.

It was at the end of the evening, when I started cutting the sleeves, The pattern I followed (Ottobre 5/2010) had sleeves in two pieces, which was new to me because kids raglan sleeves are in one piece. I found out that  my half a yard was not going to give me complete sleeves. I was only able to cut the lower piece of sleeves. I had cut the pieces on the fold (including seam allowance next to the fold) when I decided to stop for the night. I usually get good ideas in bed and I clearly needed inspiration to solve this sleeve problem. Just before I went upstairs, I quickly cut the sleeves in two. This, of course I should not have done. The sleeves were drawn in two separate pieces because of the sleeve head split. In my case the sleeve head would become a separate part anyway and I could have left the lower part one piece. But now I had two lower sleeve parts that were not going to have matching side prints. This shows that when you are in doubt about how to cut or sew your project further, please stop immediately. IMMEDIATELY.

Before I actually fell asleep I decided to give the whole thing an intended look by retrying the elastic piping method that I had been trying for a Louisa dress. The next day at first it again did not seem to work but indeed with some more practise it worked out fine. The idea is simple, I sewed the sleeve pieces together on my serger using my pipping foot, while sandwiching some pipping. After I finished the seam I pulled out the piping cord leaving only an empty tube which has the same flexibility as the rest of the garment. After I decided to just add a band of deer fabric on the sleeve to create enough length for long sleeves, the whole thing came together quickly.


So I decided to give this post a spin (because it should have been a mother son post) and make it all about me and me alone. I will show you all the dresses I have made myself. The dresses are all from knit fabric, one I actually knitted, because I have not dared to make a woven one yet. I planned a small photo shoot inside because of the rain but then of course my kids wanted to be in the pictures as well. This is how the first picture of this post was created. My son simply photo bombed my "Me-Myself and I" photo shoot. The pictures were taken on Sunday morning and my son prefers to dress in as few cloths as we allow (which comes down to him being in his underwear for a big part of the weekend, do more kids have his?). So I cannot even claim we match because I made both our shirts (this was my plan C). I have more, many more pictures with photo bombing kids, and even some with wet spots on my dress from tears of my middle daughter after a comfort session after her falling from a chair. But the picture with my son was the only one that made the cut. The post should have been about the both of us, and like this it still is a little bit.

This is the first dress I made from scratch. I had one meter of fabric, which was just not enough for sleeves (you see that underestimating the amount of needed fabric remains a problem). The pattern was made from an existing dress.


The second dress I made, was the Martini dress from La Maison Victor, the fabric is Lillestoff.


The third dress I made, an adapted Martini dress. I simply skipped the asymmetrical front and opted for a symmetrical one, the fabric is Lillestoff.


The fourth dress I made is from Ottobre 2/2013, the fabric is again Lillestoff.


The last dress, is actually the first dress I started. I had seen this great picture on Pinterest, and I just had to knit it. My body is a very different shape than the girl showing the original dress, but I simply longed for the challenge. It took me a few months to finish the dress (in which I actually sewed up some of the earlier discussed dresses). I did not buy the pattern and just winged the pattern based on the pictures.


Sunday, November 9, 2014

Dino Motorcycle jacket

I am exited that today, I can show you my monster project or shall I say Dino project (dinosaurs were huge too right). I am exited because it is finished and because I think it looks awesome.


I had been planning to sew my son a coat ever since I sewed my daughter a spring coat, half a year ago. In the last weeks, I have seen plenty of winter coats popping up on sewing blogs and morning temperatures are dropping. This meant that if I was going to sew my son a winter coat, I had to do it now. The hoodie my sons loves to death (his own death, because he will run the risk of pneumonia, claiming that he is not cold in the thing) needed a warmer replacement.


Over the coarse of Project Run and Play,  I saw two great motorcycle jackets, one by Sew a straight line and one by Spiegelstiksels. I thought they were amazing, and when my son announced he wanted a motor jacket like is uncle, I jumped on the occasion! Sew a straight line used an Ottobre pattern which started in sizes much larger than my small five year old. Spiegelstikels kind a hand drew the pattern, so I did not have much to go on. Then while flipping in one of my Ottobres (2012,4) (did I already brag that I own all excepts one) I coincidentally just came across a motorcycle jacket in my sons size! I of course had been stupid by not checking all the magazines for smaller motorcycle jackets. But no harm done, I simply have to reinstall the first rule: always check Ottobre when in need of a pattern. Now I just had to tweak the pattern a bit by adding lining (this was going to be a true winter coat) and adding a hood. I couldn't have written down the necessity of a hood better than Mieke did.

Okay, so I had jumped the first hurdle of making a winter coat, finding the right pattern but then I quickly stumbled upon the obvious second hurdle, the fabric. I had bought a canvas coupon in a web shop but when it arrived the print was too big for my liking. I was considering upcycling  a pair of denim like trousers, but the fabric was a bit too thin. Eventually I decided to upcycle one of my old coats. As I student I was an active member of a students' association and owned a coat with its logo (and the logo of a sponsoring bar and that of a company, which both do no longer exist). The coat was big, very big, too big for me, but it was warm and all the active members had one. Although I was no longer a member for years, I still wore the coat every other winter. This was the only coat which fitted me when I was pregnant. With our family complete, I really had to reason to keep the coat around, besides because of the memories it represents (my husband and me met through the association. He was also a member for a small period of time and we have a photo with matching coats). The best thing to do in such a situation is upcycling. I kind a kept the coat, but not in its horribly un-stylish way.


I used all the parts of the coat, the outer shell plus the warm layer on the inside (which I had to cut separately of course). The coat canvas is ecru and my playful son would not have been happy with a plain coat. I also felt that the inside of the coat was not as warm as it used to be. I therefore planned on adding an extra jersey lining to make the inside warmer, softer and more playful. I chose a piece of green Lillestoff with dinosaur skeletons on it. The bones are kind of the same color as the canvas of the coat and the type of green matches very well with the ecru. The lining is showing on the outside, because of the pockets and the lined hood. To increase the fun factor, I made applications of the five different dinosaurs to put on the shell.


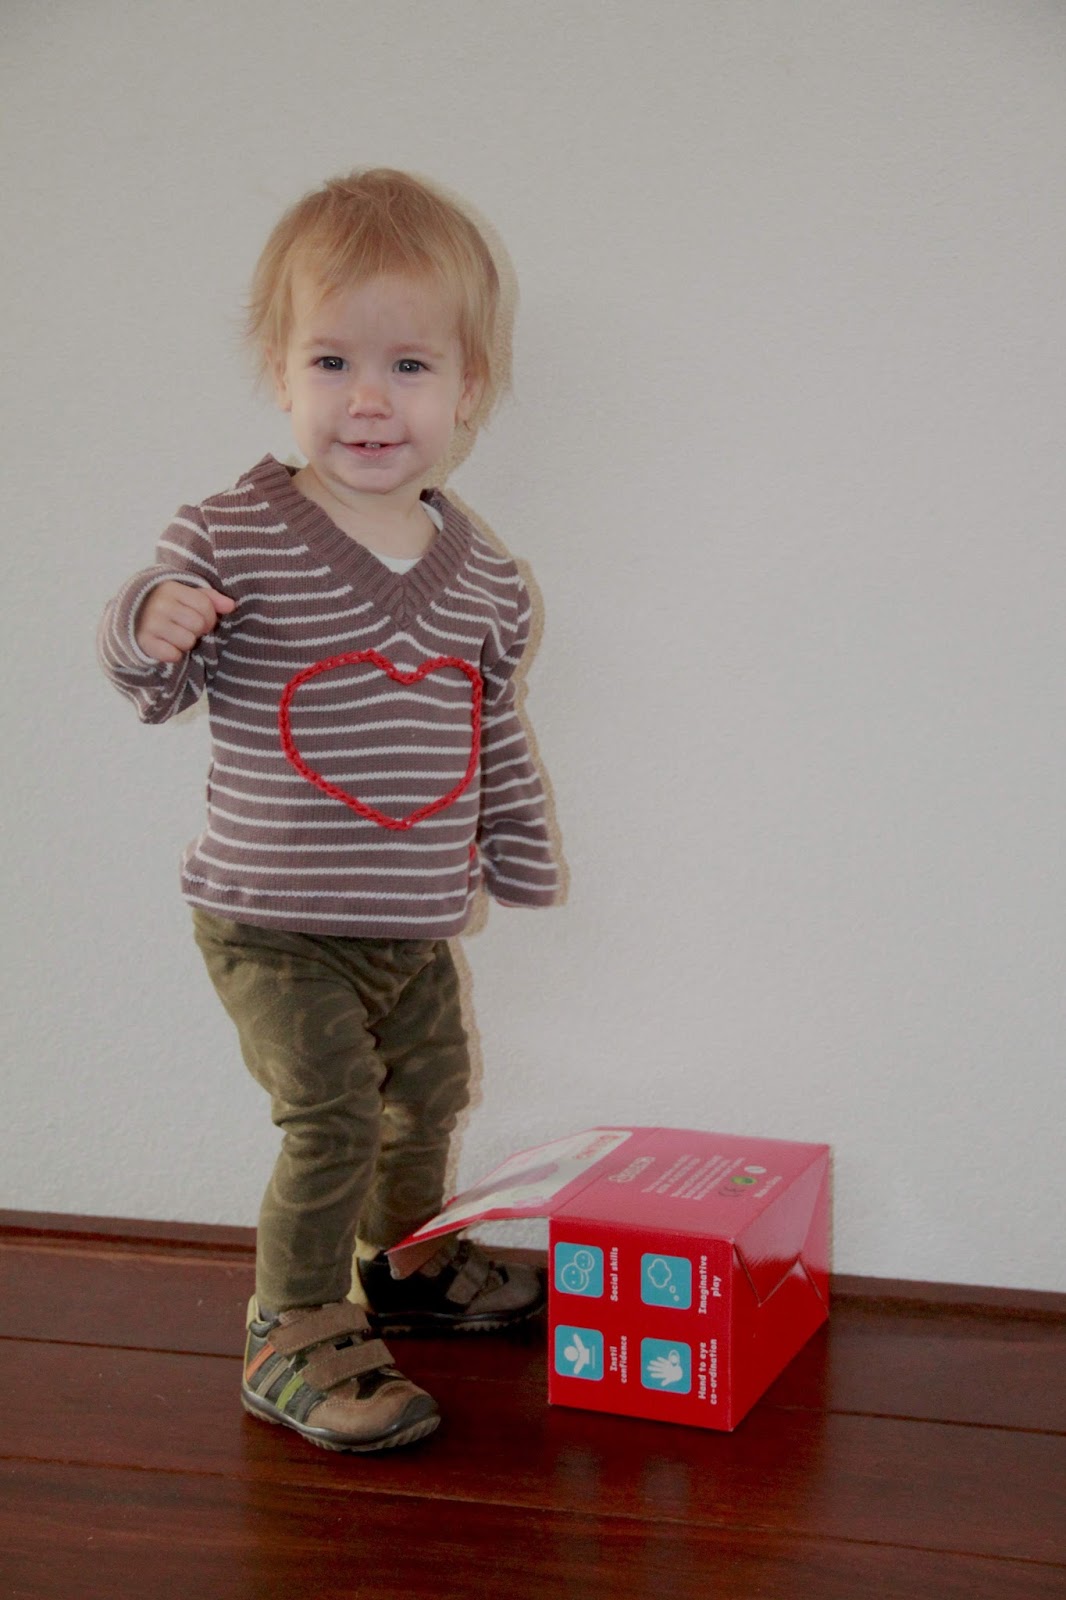
The sleeve boards and the waist board are also upcycled. I used the boards from an old sweater (the same as this one, just a different color). The sleeve boards were cut extra long after coincidentally remeasuring my son and realizing he had grown 4 centimeters since my last measuring! The sleeves are a bit long now, but he can roll them up a bit. When rolling the hem the white stripes from the sweater appear. They kind a match the idea of the bones (light on brown), so it does not bother me (the same goes for the stripes on the inside of the jacket). I am considering putting a piece of wide elastic in the sleeves, because the boards seams a bit wide now. Fingers crossed he can wear the coat two winters due to the long sleeves.


Like I mentioned this was a big project, my biggest project until now. I needed to cut more than 25 pieces of fabric. The drawing and cutting of the fabric already took me two full evenings. I liked working on such a big project, especially because my son will likely wear it every day for the coming months, but I had to take a few sewing breaks. I noticed that while I was sewing this, I sometimes missed the exited feeling of a finished project (even though I set myself attainable sub goals every evening I sewed on this coat). 
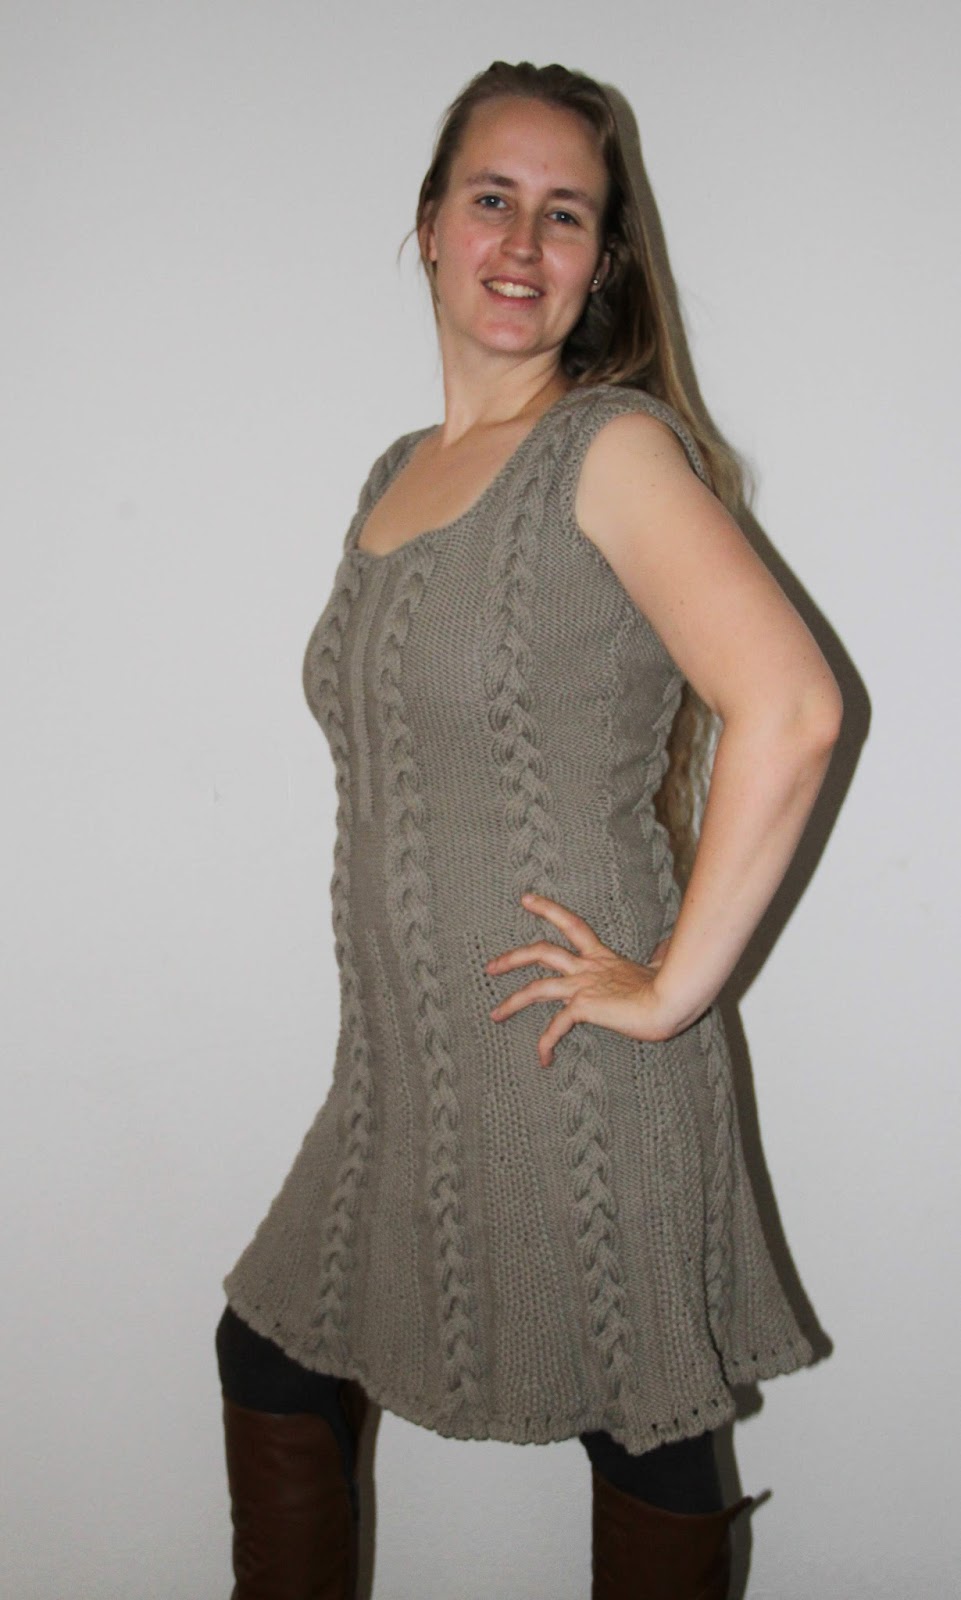
Therefore, I sewed the Louisa dress and leggings assemble and crocheted the hood in between working on the coat. I simply needed the wins.


The original motor jacket pattern did not have a hood, but I added one based on the existing hood of the original coat. The coat had a folded un-lined hood in the collar. I simply lined the hood and attached it with snaps. I seem to have forgotten to take pictures from the front with the hood down, so you just have to believe me that this look also works fine.

The coat has some strong folds due to its previous life. These will fade over time, due to the water resistent inside of the canvas fabric I did not want to iron the fabric too much. Besides having finished a huge project, I added a big amount of photos and appear to have written a lot of text as well. I hoped you enjoyed reading my post and as a special I treat I have three pictures left. In a dinosaur coat you have to pretend to be a dinosaur. Here you can see my son being a very scary one.


If you are wondering how a very sweet baby Dino would look like, well this is my sons version.

What do you think? Please leave a comment in the language you prefer (although Google translate might have to assist me if you choose something different than English, German, Dutch or Hungarian)

Thursday, November 6, 2014

Testing: baby leggings

Emma and Mona put out a testers call for her free baby leggings pattern. I saw this as a sign to stop procrastinating making clothes for my youngest. Baby leggings are very quick projects and I do not know why I have not made a ton of these yet. Yesterday evening, I  made one baby leggings in one hour (from taping pattern to end). I chose for the version that I could totally do with my overlock which means that the sewing part is about 10 minutes. I expect a next leggings to be created in less than half an hour.


Following a pattern is not my strong suit, but this time I really tried. I cut a size 74 and only made the waist part a bit longer than the pattern suggested, to avoid having to use elastic in the band. The legs are a bit long, but because I made the part and the end of the legs extra snug the extra length does not create a problem, and simply makes the leggings suitable for a few more months. For the next leggings I make I will follow the pattern again, which means that the pattern is great.


I felt I could not just show the leggings after seeing the great completed outfit at LilyandWoody, and the fabric of the leggings is not stunning enough like the one from Liesellove to work on its own. My youngest also needed shirts so I quickly made shirt of the scrap fabric from this dress. This time I did not use my twin needle but used a zigzag to finish the bias and seams as Mie Kantoentje usually does. Although I am great friends with my twin needle this zigzag is much quicker (especially because I used the thread and neelde that were already on my machine) . The shirt is still a bit big as well. I used an old cutted Ottobre pattern I had laying around and added a bit more seam allowance.


The outfit is made complete by the boots I made a few weeks ago but did not blog about yet. The boots are upcycled from a thrifted woman's vest and I simply followed this pattern. The biggest size is already a bit small for my youngest, but by adding a bit more seam allowance I will be able to  make a few more of these (I am always planning more..)


What do you think? Please leave a comment in the language you prefer (although Google translate might have to assist me if you choose something different than English, German, Dutch or Hungarian)