Friday, February 20, 2015

Tipsy toiletbag

This post also has a Dutch version you can read here.

Like last month, I participated in the "Zo geknipt 2" monthly sew along. This month everybody makes either a toilet bag or a makeup bag with a diagonal zipper. The advantage of the diagonal zipper, beside giving an interesting look, is to create an easier access to the content of the bag.


This project is ideal for scraps. The amount of fabric you need per pattern piece is small and especially if you hack the assembly process like I did. In the advised method you first put together rectangle pieces and after sewing the zipper and the side pieces you cut the top part as a whole. I read here that this leaves quite some waste. I prefer to throw away as few fabric as possible so I decided to just cut the actual necessary pieces with a seam allowance.


My woven scrap pile is meager and I did not want to cut from uncut pieces, it might turn out I just needed that amount in the end (I buy and cut lean). My knit scrap pile is taking up one sixth of my entire fabric stash so using some of those seemed ideal. I ironed on a very heavy (but cheap) stabilizer to remove the stretchiness and make the fabric sturdy. This was extra important because I decided not to line the bag.


To mix it up a bit more I used an invisible zipper. The zipper can be part of the special details of the bag, I have seen several beautiful examples of pipping matching the zipper color, but well I just wanted something different. I feared that the very sturdy stabilizer would create problems with the invisible zipper. Therefore at first I used a slightly less sturdy stabilizer for the top triangles. But the less stable one actually left the triangle still a bit stretchy. One of the two triangles had to be re-cut (I had not mirrored the part piece correctly leaving me with a piece I had to throw away, I do feel the irony about me wanting to cut lean to avoid scraps, believe me). The re-cut triangle I did stabilize with the sturdy stabilizer. In the end the sturdier stabilzer (the darker purple) sewed up better.


For the pipping I used strips of knit fabric that I used for the muscle tee. I put a small cord in it of which I bought 100 meter at a local do-it-yourself store. The strips of fabric that I could cut from the shirt were not long enough so I had to create some overlap. The big advantage of having knit pipping is that it will not fray. I find the best way to connect loose parts is by simply putting the next piece over the old, without making a seam. A seam creates a bulky whole.


I sewed the pipping on the bottom piece with my serger with pipping foot, this went very well. The serger cut the excess fabric beautifully. I put the final two parts together I on my sewing machine with my blind zipper foot. The pipping is as thick as a zipper and I succeeded in sewing very closely to the side of the pipping. When the bag was finished I saw that I did not anticipate correctly how the side pieces would end up, creating a side up bunny family. For a next bag I now know better. This bag was confiscated by my eldest and she definitely does not mind the imperfections.

Sunday, February 15, 2015

Free Penny play suit turns knit dress

Frances Suzanne are the organizers of "Flip this pattern". I love the concept, everybody who is sewing along starts with the same pattern but you are encouraged to tweak it in your own way. I have seen very creative and inspirational results, but I have never sewed along yet. This month is "Free for all month", which means that there is not one pattern, but every free pattern or tutorial out there. This was a month that I had to participate in.


The pattern I chose to flip is the Penny play suit from Shwin & Shwin. I love the curved arch contrasting two different fabrics. The lines of the Penny play suit resemble the line of the Meggie Mae dress (designed by one of the Shwin sisters). The dress has covered shoulders but you do not have to sew sleeves. The Penny play suit is a free one size pattern. The pattern is supposed to suit a 12-18 month year old. The pattern is intended to have the upper arch in woven fabric and the lower part in jersey.


I flipped this pattern into a dress for my middle daughter. Knits require a bit tighter pattern than wovens and I guessed that the Penny play suit 12/-18 month woven top would approximately fit my three and a half year old in knit. I was almost right, it wasn't approximately, the fit was spot on. I put the top piece on the Princess Castle pattern (Ottobre 3/2013) that I used earlier this week and it fitted exactly, mental high five to self.


I turned the pants part into a skirt part by combining the upper arch of the trousers with the skirt part of the Princess Castle dress. Finding the right angle was a bit of a challenge but it worked out. I omitted the zipper because this is not a necessity with knits. I lined the bodice part with the same knit. I added the side seam pockets from the Fawn Lily dress and I also used the folding technique I learned when making that dress to neatly finish armholes and neckline in case of not using a split back piece.


I constructed the dress for 90 percent with my lock, only the bottom hem and gathering was done with my sewing machine (I know I could gather with my lock, but I prefer to do it one my sewing machine). I did not gather over the entire arch, I left a few centimeters ungathered on both sides. The gathering is great for my toddler (decreasing) remaining baby belly. For the hem I used my double needle with two different color thread for the bottom hem.


The fabrics are both from the frog prince line of Lillestof, so no creative pairing there. The hair piece I crocheted two years ago but is not usually worn because it is a bit heavy.


When I made the first pictures my daughter was holding is a very awkward position, then I realized she had seen big brother photo shoot and wanted the same picture as he had got. She tried to put her plush toy on her shoulder herself.


I love to hear what you think of my creations. Feel free to leave a comment in the language you prefer (although Google translate might have to assist me if you choose something different than English, German, Dutch or Hungarian).  

Thursday, February 12, 2015

The garçon muscle tee

February is well on its way and  I had to start working on my sew alongs if I was serious about doing them all again this month. The Project Run and Play sew along tutorial/pattern was announced last week, the Mademoiselle muscle tee. Temperatures are around zero Celsius around here so the inspirational juices did not start flowing immediately.


With the opening of the link up I had renewed motivation and searched Pinterest for muscle tee inspiration. I was surprised with the results, muscle shirts are apparently usually covert in inspirational tough girl sentences (this is not an existing categorization, I know, but this was the best thing that came to mind). Muscle tees are often worn to gyms or during other sport activities and every form of inspiration is useful in those situations. I neither go to the gym nor jog nor any other related activity so the whole muscle tee scene is a bit foreign to me.


Looking through all those muscle tees I realized that a muscle tee should be "cool". I do not know anymore how I made the next step, but it somehow made me think of lions, those are cool right..? A lion has some very characteristic black lines in its face and I decided I would make a muscle tee for my son with a lion face. I looked around the house and found a perfectly yellow colored shirt in my husbands closet. My husband agreed he should have put this shirt on the upcycle pile a while ago and when I found a dark brown jersey in my stash I had all the materials I needed.


I wanted to frame the yellow of the face in brown jersey like manes usually frame the face. For a moment I thought about sewing some yarn between the seams, but quickly decided against it, this shirt was going to be cool, no costume. To create manes-look I decided to draw pattern pieces with asymmetrical width and length, a bigger back piece which would curve into the front.


My son is very skinny, both his body and arms have the size of those of a toddler. I therefore opted for drawing my own pattern based on a muscle tee he owned, instead of using the free pattern. I drew the arm wholes much smaller. I started my drafting with two the same back pieces. Then I cut the neckline lower on one of them  to create a front piece. Both from the shoulders and the sides I took 2.5 cm off and taped them to the back piece. I used 5 cm wide stripes of the brown fabric to finish the arm whole and neck.


Before I sewed up the tee I drew a lion's face on the front piece with textile marker. I sewed up the T in under 30 minutes with my lock. I also used a strip of jersey to finish the bottom hem (not visible in the pictures). My son wanted his trusted friend with him in the pictures, I didn't object. I was so focused on getting both the bear and a good shoot of the shirt, that only after the shoot I realized his fly was open...


I love to hear what you think of my creations. Feel free to leave a comment in the language you prefer (although Google translate might have to assist me if you choose something different than English, German, Dutch or Hungarian). 

Wednesday, February 11, 2015

Splitted graphic jersey dress

Two days ago, one of my favorite fabric webshops, Joy Fits added some new fabrics. One of them was that special (designed by Leena Renko) that I just had to buy it immediatly (forgoing my de-stashing resolutions), it was a good call because now it is already sold out. The next day the fabric arrived, it was even prettier than my pc screen showed. The same evening I turned a large piece of it into a dress.


The pattern is an adjusted Princess Castle dress from Ottobre 3/2013 (which I made here and here). I cut the whole front from one piece but kept the contrasting pockets. I wanted the fabric to be the main attention grabber and therefore omitted the waistband. I also chose for wider wrist cuffs than the original pattern. The cuffs and binding are cut from a light gray fabric, which resembles the color of the girls hair. The pockets are cut from a greenish blue jersey that resembles the color of the cats eyes.


It took me about an hour to decide how to cut the front and back from the fabric. The pattern has a wide returning graphic (girl sitting and cat head next to it). I could have put the graphic as a whole in the middle of the skirt, than the same pattern (in mirror image) would have repeated very close to the neck line. I wasn't sure about the look of this cropped higher up graphic. Also, if I would have chosen that option I would have had to cut very far from the fabric side and I could not bring myself to create that many unusable fabric scraps. I therefore opted for keeping the pattern on the left side of the dress, which created in a totally different images for the neckline and skirt. The rest of the fabric, between the bigger graphics is that special that it does not bother me that the girl and cat are both off centre. Whatever the remaining fabric will become, it will  feature the graphic as a whole.


I used red thread for the top stitching of the pockets and the bottom hem. Some of the hems of my jersey dresses curl up. I read that you can decrease this problem by sewing very closely to the end of fabric. While trying to be as close as possible to the edge, I even went so far as to sewing only one piece of fabric a few times. I therefore opted for a second line of double stitching. I could have taken out the first double line, but I liked the extra detail it gave.


My middle daughter needs more dresses like this. Quickly sewn, easily put on, easy to wear, a great pattern for all the jersey I have in my stash. My daughter even felt she could twirl in it.


I love to hear what you think of my creations. Feel free to leave a comment in the language you prefer (although Google translate might have to assist me if you choose something different than English, German, Dutch or Hungarian). 

Thursday, February 5, 2015

KCW #2: Upcycled embroidered table cloth to summer dress

A few months ago while inspired by a embroidered designer dress I bought a vintage hand embroidered table cloth. Due to KCW's theme upcycle my plans for the table cloth resurfaced and the last three days I spend on turning the table cloth into a summer dress.


The table cloth was covered in beautifully embroidered flowers and I wanted to put as much of them in the dress. Due to the non-circular embroidery pattern (the corners were true corners) I could not cut a circle skirt. The not so obvious optimal cutting schedule was the reason the table cloth was not turned into a dress immediately. After much thought I opted for a skirt in six pieces and a horizontally split front bodice. The bodice part and sleeves are again from the book Doe Het Zelvers 2.


After I cut all the pieces I spend a few hours on removing the embroidery thread of flowers that were cut in half. I wanted to only have whole flowers to create the illusion that the embroidery pattern was designed to fit the dress. Although taking out the extra flowers and leaves took quite some time it was nothing compared to how much time must have gone into embroidering the table cloth in the first place.


I made button closure in the back, this way my daughter can dress herself. While cutting the dress I first had planned a blind zipper. Due to my blind zipper plans I chose two separate flower patterns for the back.


My daughter loved the dress (every time I make her a new dress she claims that it is the prettiest dress ever) and immediately wore it to the restaurant we went this evening. She got several complements which made her radiate even more.


I love to hear what you think of my creations. Feel free to leave a comment in the language you prefer (although Google translate might have to assist me if you choose something different than English, German, Dutch or Hungarian).


Tuesday, February 3, 2015

KCW # 1: from sweater to shirt and leggings

Yeah, KCW has started again! The excuse to sew every day for a whole week. This seasons theme is upcycle. I have upcycled several pieces already, so for a moment I feared I would not have enough inspirational "upcyclable" pieces to work with. My fear was misguided, I looked around the house and when I combined my search bounty from three different locations, I had enough inspiration to last me at least a month.


In the aftermath of the previous KCW I wrote, I was planning to have all the garment pieces cut and very well planned out for this season. Well I really wanted to do that, but nothing is pre-cut, I only glued the knight hoodie pattern I want to use this week. I am planning a special knight hoodie this week, but when push came to shove yesterday evening I decided to start the week of with a quick, one evening sewing project.


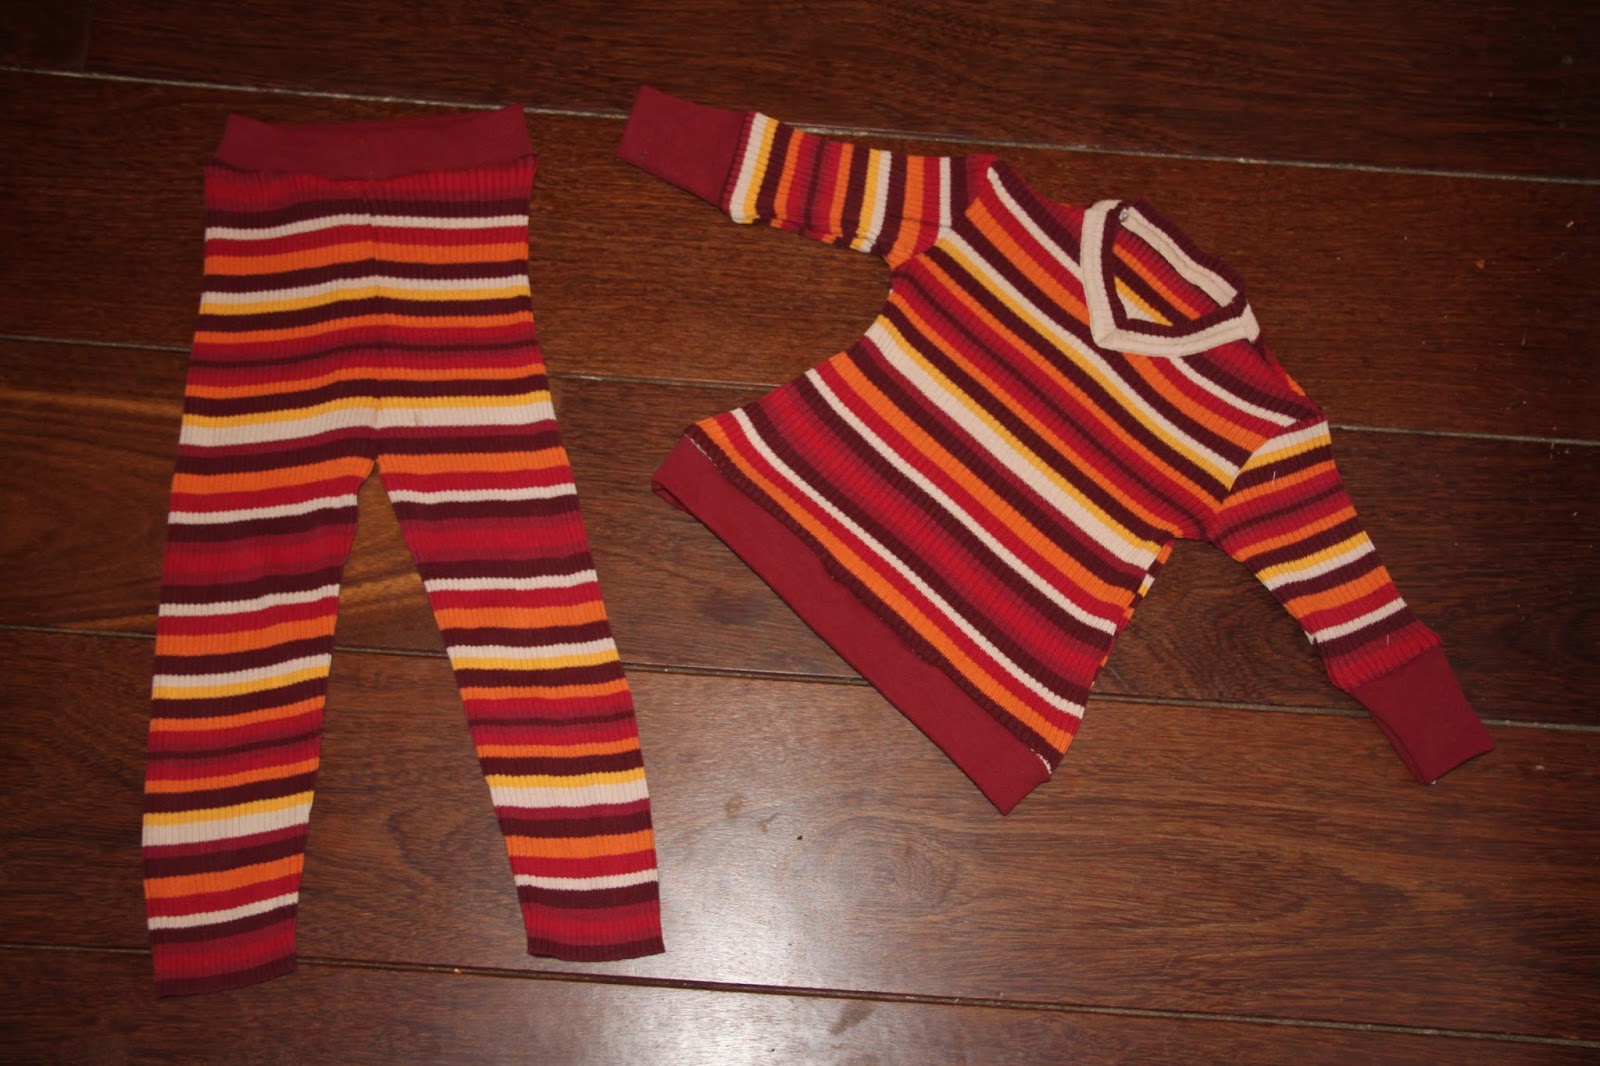
I took one of my too short sweaters and a pregnancy belly band and turned them into toddler leggings and a baby shirt. This is the third heavy knit sweater that I upcycle, and I still love to do it. It is so nice to work with this type of cotton fabric (a lock is a necessity in this case), I still haven't found such fabric in the store, the heavy knit that I did found had a high percentage of polyester in them.


I totally winged the pattern pieces. The sweater knit is extremely stretchy and although it recovers with wash it will always be a  bit sacky when worn, therefore the fit did not have to be perfect. The leggings were cut from the sleeves of the sweater without opening the sleeves, following a similar procedure as this tutorial. I used an already cut free leggings pattern (for the waist part)and earlier used onesie pattern pieces to draft the pieces. I used the belly band for cuffs of the sweater and the waist band of the leggings. I did not use elastic in the waist band of the leggings, the jersey is strong enough. The fit turned out fine, although the head opening on the shirt is a bit tight, I might have to address that next week.


My models were asleep yesterday when I finished, so this morning I took some quick pictures. My models were not totally in the mood, one of my pictures (only rejected due to terrible lighting of course) had them both plain crying! Fortunately after a few minutes they showed me their professional side and gave me something to work with. But still, my middle daughter was refusing to show of her butt so I have no picture of the perfectly lined up stripes.


I love to hear what you think of my creations. Feel free to leave a comment in the language you prefer (although Google translate might have to assist me if you choose something different than English, German, Dutch or Hungarian).