Monday, July 6, 2015

Dear Prudence dress blog tour

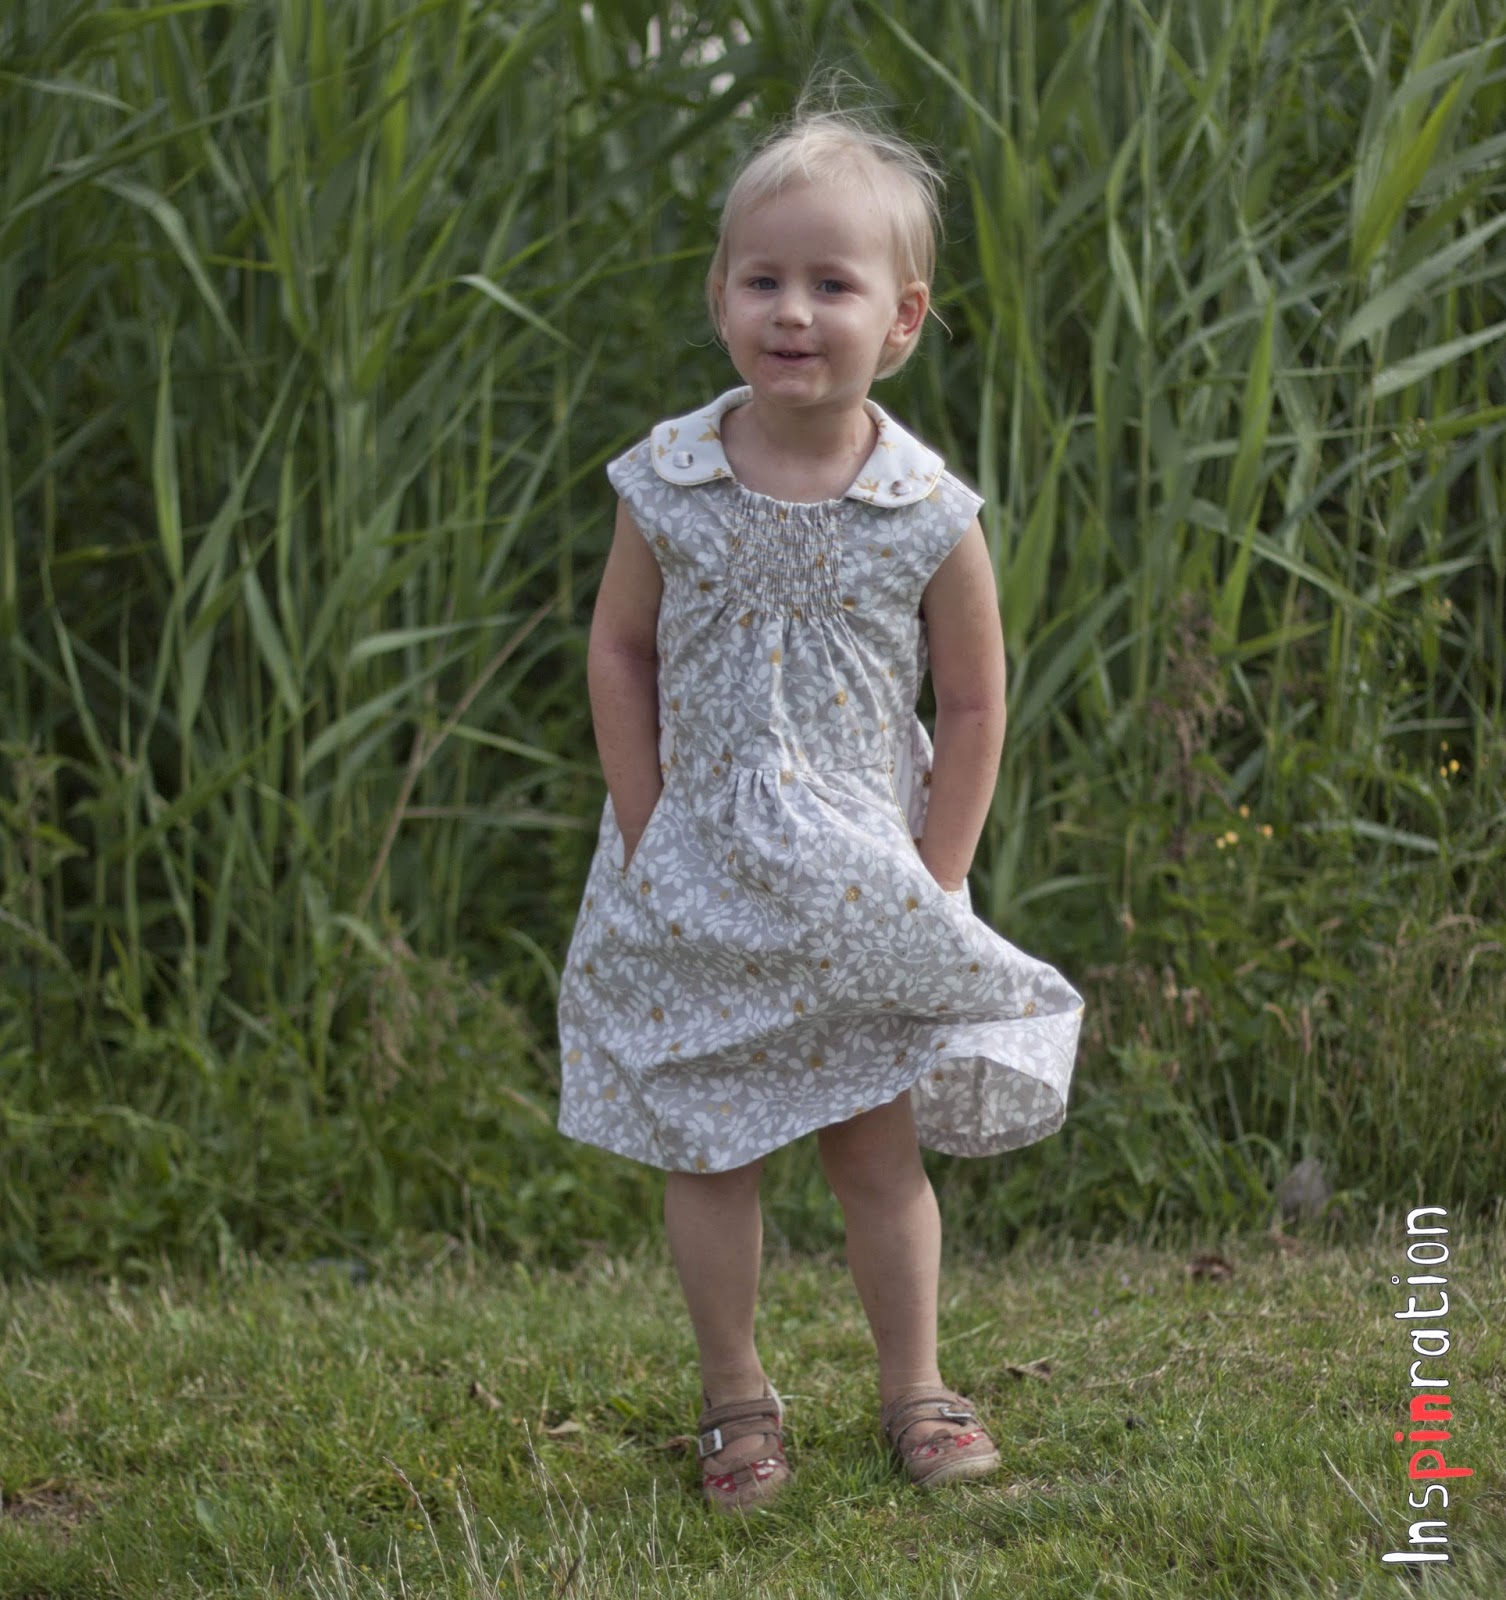
Sewpony just released her newest dress pattern, the Dear Prudence dress and today is the first day of the blog tour. SewPony showed the prototype of this dress during last year's fall and she mentioned that she was creating a pattern. I immediately reacted that I would love to test the dress and I had been eyeing the blog like a hawk ever since. I was so eager to sew this dress because of the pockets, the collar and neckline. The neckline is shirred and therefore there are no buttons or zipper needed, which is a feature I love!


While looking through my fabric stash, my eye fell on this grey with gold accents fabric from Michael Miller. While thinking about the fabric for the pocket and collar I remembered I still had a small scrap from another Michael Miller fabric with gold elements, the fabric I used for this dress. I choose to use gold piping due to the fact that both fabrics have gold elements. I think the combination is lovely.


In the past, I shirred with matching top thread, once I even sewed with transparent thread. This time, following Suz's own test dress, I used a contrasting color. I think the effect is very neat. Besides  elastic shirring thread, the neckline has an extra elastic in it. I would have never thought of it, but this way the top of the shirring also looks perfect.


Finding the right buttons is very hard around here. I have a small stash and somehow the colors I want, are never in it. This time, I ended up using metal anorak fasters from Prym. Although the details in the dress are gold, I think the silver is a nice extra detail, both have a nice shine.


Big pockets are a big plus in our house, my kids love them. When I finish a garment one of their first questions during fitting is if the garment has pockets. The pockets on this dress are great for fabric blocking, but you can also use one fabric for the entire dress. Suz very well explans in her instructions how to make the nice sharp edge with your piping.


The back of the dress has an elastic casting which creates a beautifully fitted look. I love the cap sleeves on this dress, but the dress also has the options for sleeveless, short sleeves or 3/4 sleeves, so you can make dresses for the entire year round.


Although the pattern's instructions do not call for it (Suz uses another nice technique), I hand stitched the front bodice's lining to the skirt. Ever since I did it for my Brueram dress I have been making beautifully hand finished bodices. I think it is really funny how my sewing quality is evolving. When I started making clothes, about three years, I didn't finish any seam, I just didn't care at all about the inside of a garment. I just wanted to be finished quickly. Now, I am even enjoying hand stitching linings and blind seams (in front of the television or watching my kids in the garden). I would not have believed you if you would have told me back then.


When I made the pictures in this flower field, it was very, very sunny. The field I found was lovely and I made several pictures but these were the only two that I could actually use. The rest were either overexposed (at such a level that even Photoshop couldn't save my raw files), my daughter was pinching her eyes or she was clearly being afraid of the bees that were also enjoying the flowers.


Because of the blog tour you can get 15% off the pattern's price  throughout the tour with code PRUDENCE15. The blog tour runs 6-17 July on Mondays, Tuesdays and Fridays, more information can be found on Sewpony's blog.

I love to hear what you think of my creations. Feel free to leave a comment in the language you prefer (although Google translate might have to assist me if you choose something different than English, German, Dutch or Hungarian).  

Friday, July 3, 2015

Testing Grace, free baby dress

Griet, the talented woman behind the blog "Emma en Mona" is about to release a new pattern, the Grace baby dress. This FREE dress will have three sleeve options, sleeveless, ruffle sleeves or folded sleeves. The folded sleeves instructions were not finished yet, but I particularly loved that version, so I just winged the sleeve (based on the example picture).


Griet frequently hacks patterns, she regularly comes up with a new take on her existing patterns (she wrote two inspiring sewing books), and as you might now, I also like a good hack. So, I asked permission to adjust this pattern while testing. I opted for a fuller skirt and switched the closing buttons to the front. My little one loves to dress herself, so I assumed she would love to practice with buttons.


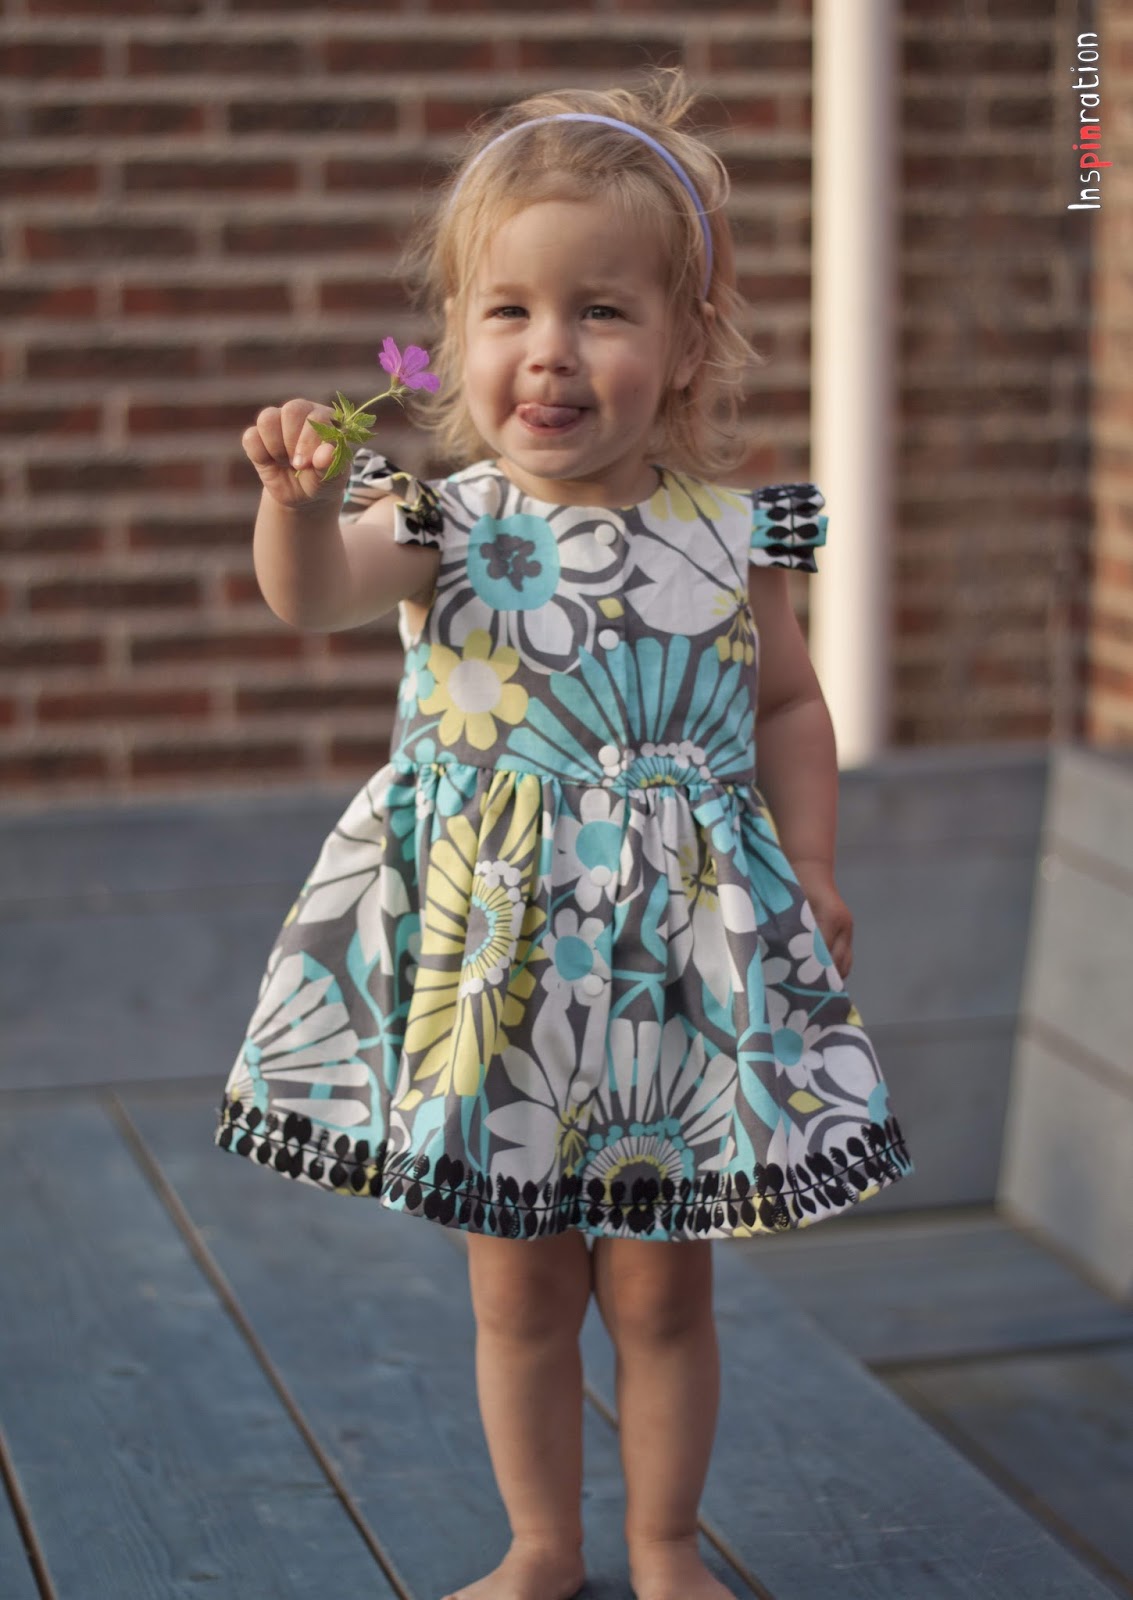
I used a Michael Miller fabric that I bought at Modes4u. It was one of the first designer fabrics that I bought and I didn't realize the black leaves line would actually be on the fabric (I did notice them, but naively assumed that it was some sort of watermark. The fabric was on sale and very inexpensive and just put it with my other fabrics in the cart. When it arrived I just put the fabric in my stash, because I couldn't imagine a garment with the border graphic on it.


I am very much trying to decrease my stash fabric and looked through it thoroughly when I started this dress. My eye fell on the strange border fabric and I immediately saw a dress emerge before my eyes. I would use the border as the bottom of the dress and for the sleeves. I am very satisfied with how it turned out!


I was very determined this time to use true buttons and button holes (I finally got enough confidence from sewing my Domi's). But when I actually had to start my holes I realized that my youngest is used the snaps and will probably tears real buttons from the dress in her enthusiasm. Therefore, I again used snaps, the smaller T3 snaps this time. These open easier, so they lower the likelihood of tearing the fabric. This particular snaps have a small flower engraved on them.


After sewing my first blind seam on my Nina skirt, I haven't looked back and have only sewed blind seams since. I just love the look. I used black thread for this one and stitched in the leaves. The seam is totally blind this way. Speaking about neat finishing quality, did you see the continuous print on the bodice (I forgot to do the same for the skirt).


I added side seam pockets (not part of the pattern), but I forgot to show them to her before I showed the buttons. She loved the buttons and immediately undressed (this will happen often in the beginning, but I think she will keep the dress on after a few times). I didn't have much time for the shoot, because the sun was already coming over our garden fence, so I do not have any pictures of her with her hands in her pockets. I am sure she will love them to, but now she was over the moon with the buttons.


The dress is still in the testing phase and I do not know when the pattern will be released.  She, she and she already showed their tested versions. The pattern is FREE and the sizes range from 2 months (62) to about two years (92). You now have a new perfect baby gift pattern, and you can find it here.


I love to hear what you think of my creations. Feel free to leave a comment in the language you prefer (although Google translate might have to assist me if you choose something different than English, German, Dutch or Hungarian). 

Wednesday, July 1, 2015

KCW part 2: quick travel themed garments

 ***updated on July 4 2015 with a picture of the original shirt***

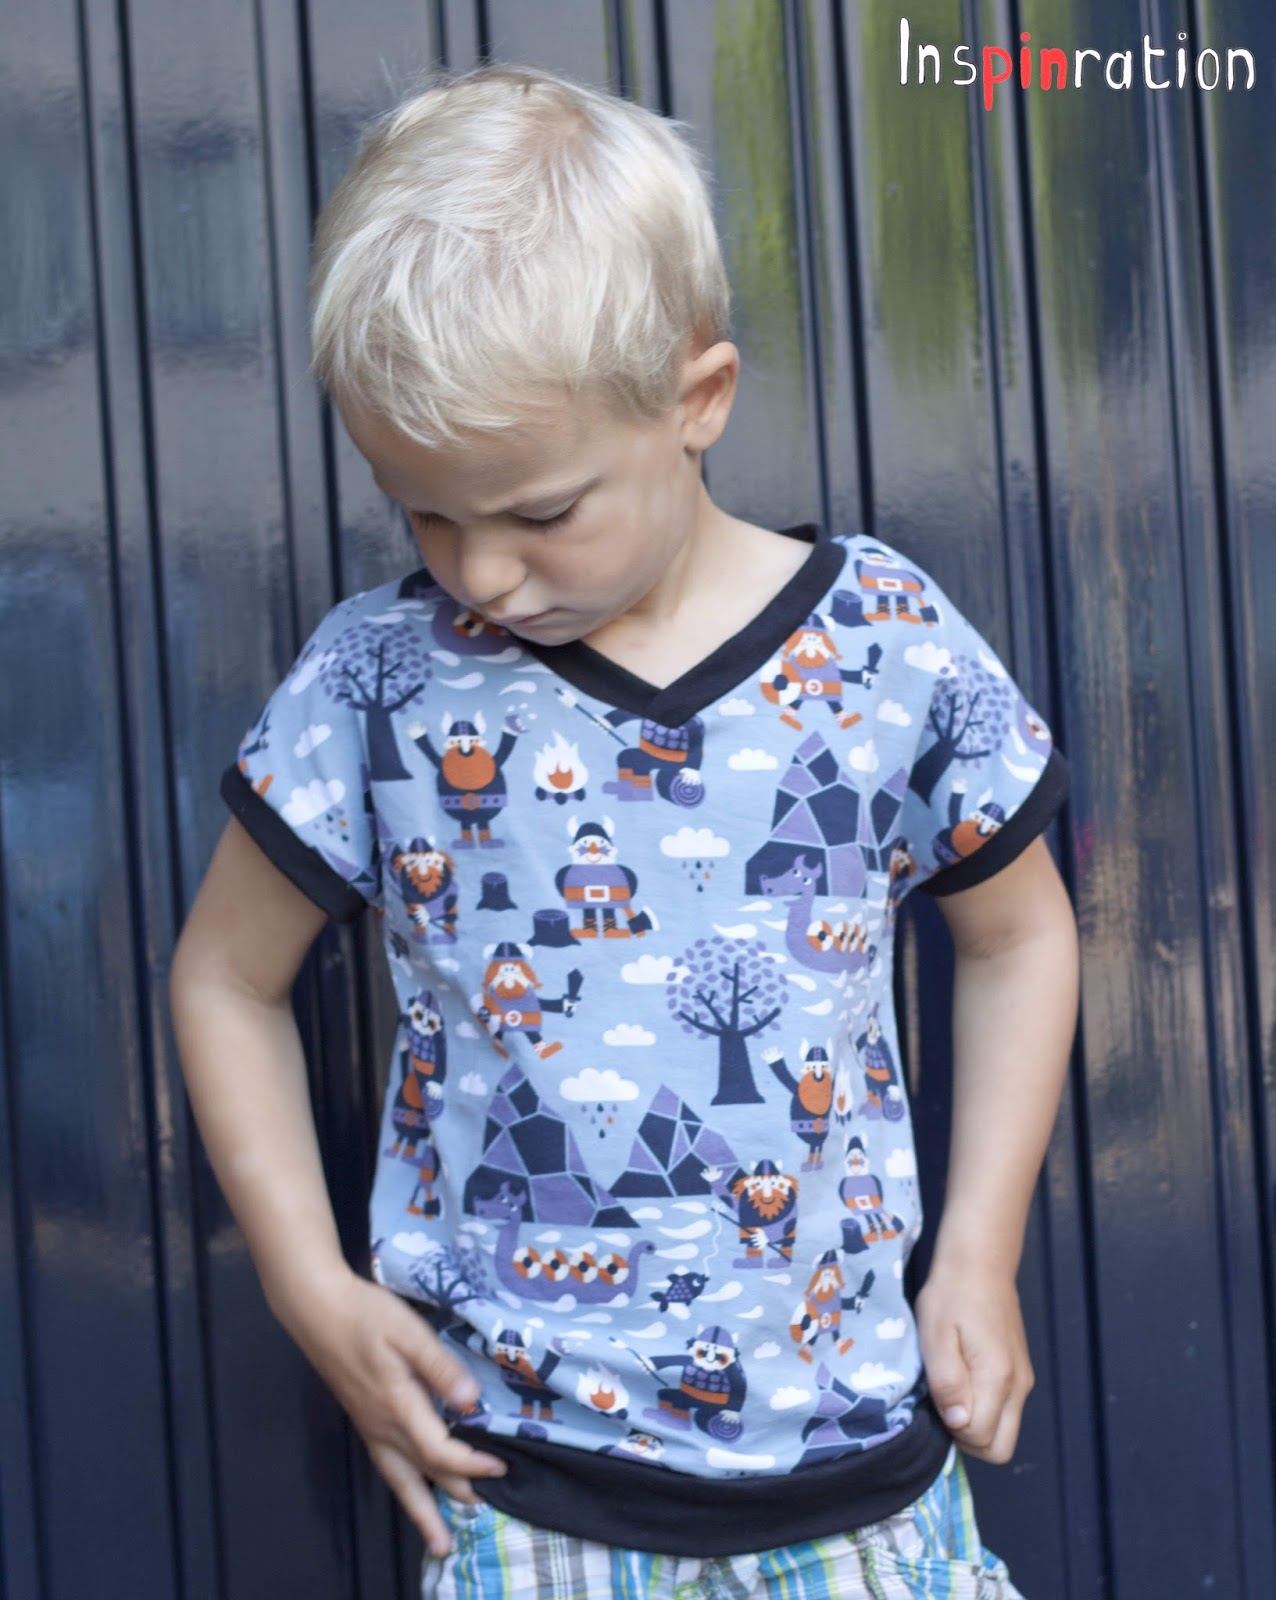
Besides my extensive Ishi, I also whipped up two very quick projects during last week's KCW. The first one was this time traveling Viking shirt (Lillestoff fabric). The pattern is from Ottobre 3/2015 but I hacked the pattern to support a V-neck instead of a hood. The pattern is a bit wide for my taste and next time I will draw a higher neckline, but all in all I am satisfied with the shirt. The fabric combination was simply copied from her.


For my other quick project I used an old T-shirt that I got from a friend. The shirt was a dark shade of green, that fitted winter better then summer (I am sure that I made a picture from the original shirt but I somehow can not find it).


The print, a Volkswagen bus (clearly fitting the travel theme), mountains and a pink accent were fun, so I put the shirt in bleach to change the color. The shirt became a nice  light mustered. While keeping the original bottom hem, I cut a dress and put cuffs and the arm holes and neckline. The sewing was done in 20 minutes.


I love to hear what you think of my creations. Feel free to leave a comment in the language you prefer (although Google translate might have to assist me if you choose something different than English, German, Dutch or Hungarian). 

Tuesday, June 30, 2015

KCW part one: Sashiko embroidered Ishi

Last week was Kids Clothes Week. I didn't manage to post about my KCW sewing because I was too busy sewing (and only finished this dress yesterday). After I participated in my first KCW, I wrote that in next seasons I would either have an easy project every day or one very extensive one during the whole week. In the previous KCW, I posted something everyday. This time I went for the big challenge version. I hand embroidered a dress. It took a lot of time (I easily reached my one hour a day and more), but I could do this sitting next to my husband while watching our favorite tv shows (which I usually can't because I can not machine sew and watch). So this slow sewing was a nice change.


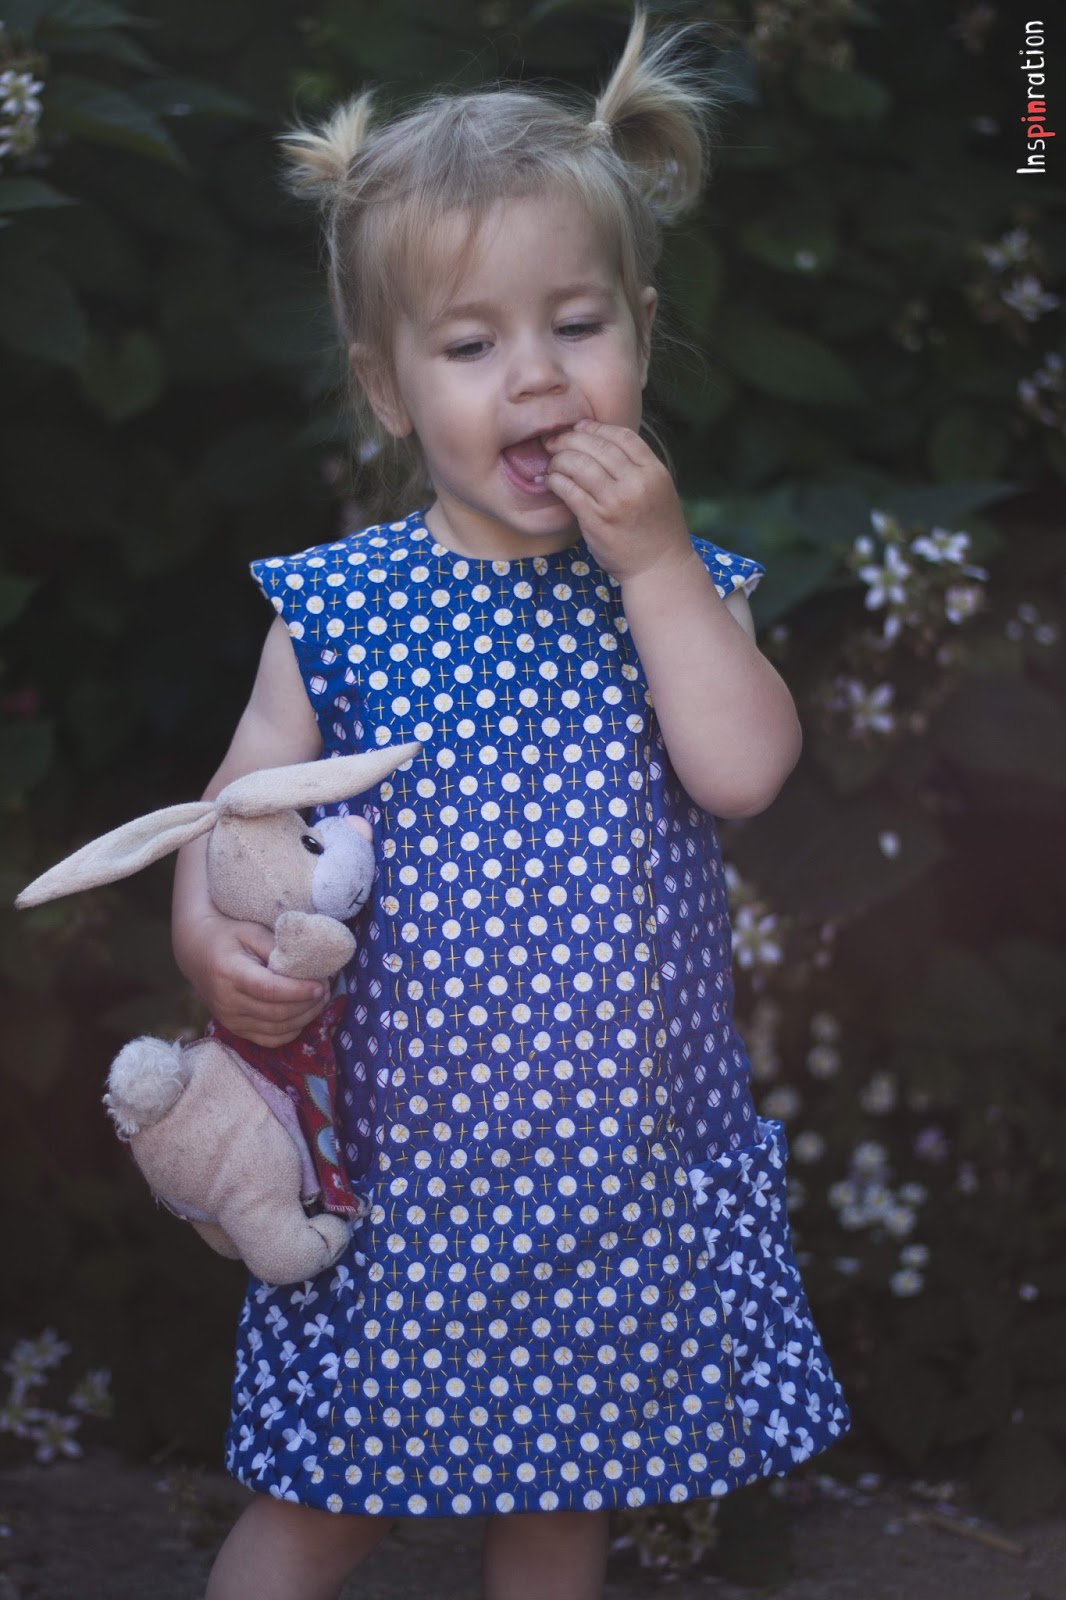
My extensive project was the Ishi (the embroidery part was extensive, the dress was a quick sew) from Straight Grain. The Ishi is a dress pattern for woven fabrics and has princess seams and big pockets. The dress is perfect for interesting fabric combinations. Ishi is the Japanese name for "pebble" or "stone", the dress got this name because girls can put their treasures in their pockets, and when playing outside many of those treasures are stones. To honor the name of the dress I wanted to use a Japanese embroidery technique. Sashiko means running stitches and this technique was used in the past to mend clothes. Holes or weak spots were fixed by sewing another piece of fabric on it with decorative running stitches. Now a days it is mostly used for decorative purposes. I had seen some lovely examples of this technique and I wanted to try it. The side panels and the front panel are embroidered with two different patterns and different colors. I first cut my pattern pieces, than I embroidered them  and the last step was sewing the dress. I think a dress with a Japanse name and Japanse sewing techniques perfectly qualifies for the "traveling" theme of KCW. I did also make two very quick travel themed projects, more about those tomorrow.


The pockets are made with the same smocking technique as this bag which I made a few years ago. This is not Sashiko but the technique is from a Japanse book. I loved the result and wanted to use the technique again. I think it is amazing how you can make these cure flowers with polka dot fabric.


So instead of using three different fabrics I actually only used one (scrap) fabric to make the entire dress. I made my eldest a dress with this fabrics once (no blog post on it) and I had a piece left that would be perfect for this dress. The pockets demanded more fabric that I anticipated so I had to sew two pieces together to get enough fabric, but the seam is almost invisible.


The invisible zipper was a challenge. I wanted the dots to line up perfectly but my fabric had a bit of stretch. I almost succeeded but after (partially) seam ripping for the third time I decided it was good enough.


In real life, it really seams that the dress is made from four different fabrics. It was hard to capture this on the photos, I hope you can see it. Both my model and the sun were not being cooperative, but I had a competition deadline to make so these pictures had to do.


I wanted a sleeveless dress and therefore redrew the shoulders slightly to have cap sleeves. I wanted the cap sleeves to be an extension of the princess seam, I am very satisfied with the look. I had to redrew the pattern size wise. My skinny girl needed a size smaller than the pattern provides at the chest and the length of size 80. I started from the smallest size and slightly redrew the chest. The fit is perfect now, which means that the size table is accurate.I fully lined the dress with an old cotton sheet because I wanted the embroidered back of the fabric not to be in contact with my girls body.


I love to hear what you think of my creations. Feel free to leave a comment in the language you prefer (although Google translate might have to assist me if you choose something different than English, German, Dutch or Hungarian).

Sunday, June 28, 2015

Domi sweat pants test

Sofilantjes is again releasing a pattern today, she is on a roll! This time she is releasing Domi, a uni sex sweatpants pattern. Most of my sewing is girly sewing (due to the fact that I have more girls to sew for) so I had to make a pair (or two) for my son. The pattern has three lengths: bermuda, 3/4 or full length. I signed up for the bermuda length, but after seeing tester pics from the 3/4 version, I wanted those aswell and I wanted them now. There are two pockets shapes, so I decided to test them both.


For the bermuda version I used Lillestoff fabric. The pattern supports a cord in the waistband  (due to these trousers I finally tackled my button fear and feel comfortable sewing button holes) and I also made the cord myself. This really is very easy, and this way you always have a perfectly matching one. I used this (Dutch) tutorial to make turning super easy (scroll down to about half way and look at the pictures).


The second pair of pants, the once supporting blue gecko's is made from Hilco fabric. This fabrics really was a dream to work with. The fit of both pants is perfect, my son loves them and has worn them both already.


The pattern is a relatively quick sew and has many options. When I drew my pattern, I cut the full length paper pieces and simply folded them when I drew my shorter versions. This way you can very quickly switch between lengths, after you sew once you are bound to quickly make another.


The pocket options are great for mixing as well. One squared and one round pockets also looks great, and what about switching up construction methods for the pockets. This will give you round contrasting pockets or you can sew the squared pocket to the main fabric from the inside. Enjoy playing with the possibilities!


The pattern will be on sale on Sunday and Monday (CET) for only $5 (excl tax). After the sale the price goes up to $8.95(excl tax). This Wednesday Sofilantjes is one of the featured designers on #pdflove (find more information on the facebook page). This means that besides the possibility to win prices with your Sofilantjes's sews, you get a 25% discount on all Sofilantjes patterns (excluding bundles) if you use the code "pdflove" in her shop. The code is valid until Thursday (Central European Time).


I love to hear what you think of my creations. Feel free to leave a comment in the language you prefer (although Google translate might have to assist me if you choose something different than English, German, Dutch or Hungarian).