Thursday, January 28, 2016

A tie, socks and gloves

This might have been the strangest combinations of sews in one post, but for me they are clearly related. They are easy projects which I did not feel like writing a whole blog post about, but the three of them together make a nice content.


Let's start with those socks. I bought the pattern from Wolf and The Tree about three months ago. My middle daughter wanted to sew something and socks seemed a perfect project for her to "sew" on my lap. Ofcourse more of my kids wanted a pair that day. I had to experiment slightly to get the perfect fit, besides having skinny bodies my kids seem to have skinny feet as well. Experimenting with a sock is really quick, so I really did not mind.


A few weeks ago, I was forced to acknowledge that my son's sock collection had become a disaster. Last year, I already accepted that non-matching pairs was the way to go in our household. Every morning, I find my self going through the clean laundry searching for socks, and I am happy when I find enough, I am not picky about the color.


My son seems to eat his socks, or maybe he just hides them but besides no matching sock, I more and more often did not find any socks for him (There are a enough pink ones, but he somehow refuses to wear them). The few brave socks that were returning from the battle field were also getting small ( I know my son's feet grew, and the socks did not shrink). It was time for an intervention. I took a piece of Nosh jersey that was a leftover from sewing these trousers and cut seven pair. It is purely coincidence this would mean a pair a day for a whole week, it was simply the amount I managed to cut from the fabric.


I posted the picture of all the socks together on Instagram and Facebook and people asked me if my son liked wearing them. Well, he loves them, he has been wearing them for almost a month everyday and is really disappointed if I can not find a clean pair in the morning. Although there is no heel, the socks stay on nicely and the seams do not bother him. I sewed it on my serger with 5mm seam allowance.


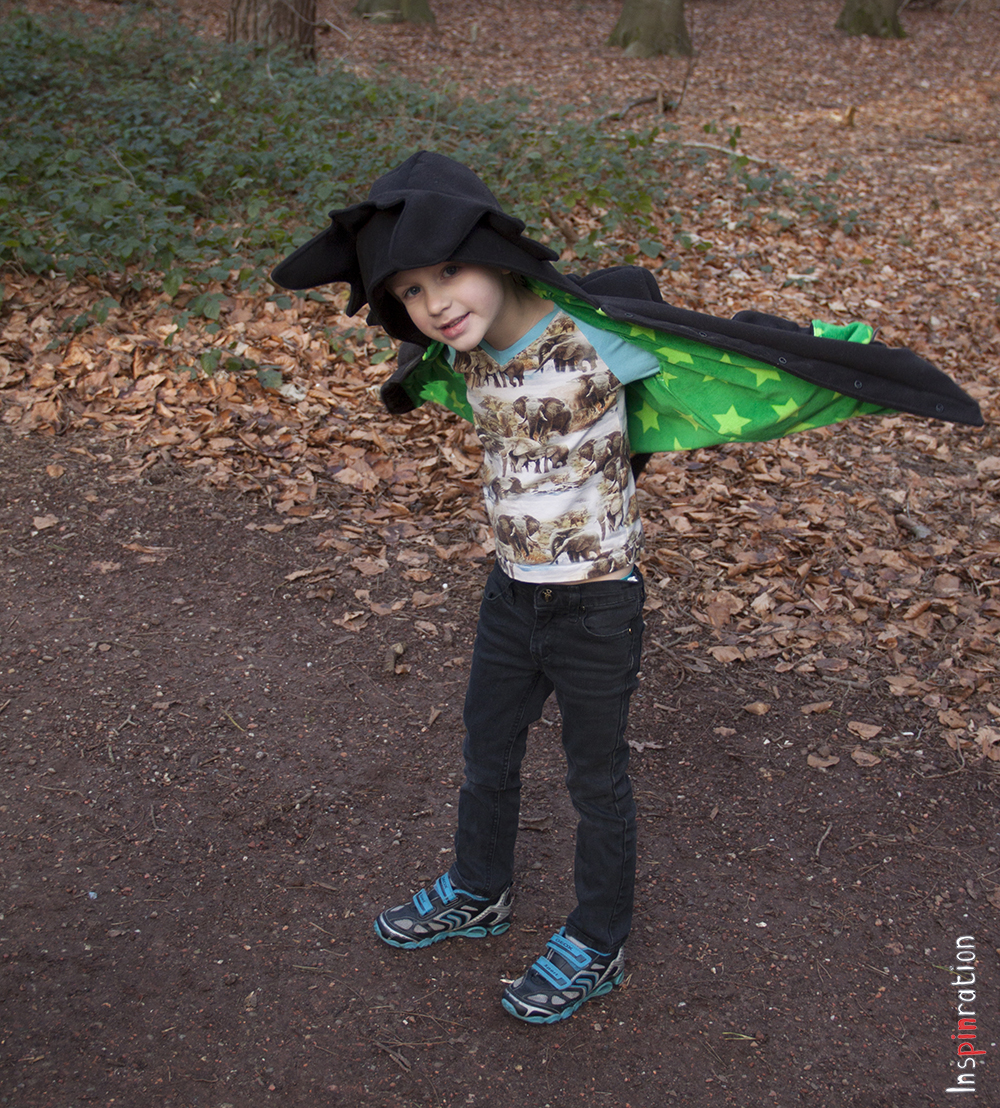
This tie you might also have seen om my Instagram feed. I sewed it from the leftovers of this dress. My son saw the fabric  and said he did not like it in such a way, that I knew he was jealous. From the last scraps that remained, I sewed him a tie from this free tutorial. This is not a full tie, it is just the shape you see, tied to on an elastic that goes around the neck. My son already had one of these and he loves wearing it on formal occasions, this one I sewed the evening before his school's Christmas dinner, he was super proud. I had to cheat with the knot though, it did not wanted to remain nice and straight so I just sewed it in place a bit. I did not have much fabric to work with, so I had to sew two pieces together (the seam is inside the knot and might be the reason for my extra needed stitching) and I had to use the selvedge as well. The selvedge is only visible on the back, so that is fine.


Let's talk about those gloves. My kids were going ice skating as an after school program and they had to wear gloves. Winter had not been cold yet and while I was searching though the gloves in our house, I realised my eldest did not have a good pair of gloves. A few days earlier I had downloaded the (at that time still free) gloves pattern from SUAT which was the perfect solution to my problem. I cut a lining and a main fabric, but while sewing the lining, I started to fear that the gloves would become too tight (I had chosen a nice thick lining). I thought that if I would put the two together, my daughter would not be able to put her thumb in it. So I just sewed two pair. My daughter loves them and I should not have feared. I could have just sewed them together because she can easily wear them on top of each other. Though the fact that I did keep them separate is not bad, now she can adjust the warmth herself by deciding how many she wears. They are like a two seasons glove set. Feeling adventurous and want to draw your own customized version, she recently wrote a (Dutch) picture tutorial.


I love to hear what you think of my creations. Feel free to leave a comment in the language you prefer (although Google translate might have to assist me if you choose something different than English, German, Dutch or Hungarian). 

Sunday, January 24, 2016

Wild Thing Coat two: Toothless

Earlier this week I showed you my beaver coat which I made my middle daughter. Today, I am showing you a dragon coat that I made my son, not just any dragon, I made a Toothless (in case you are not so much into animated movies, he is the famous black dragon). I drew my own head piece, back piece and tail for this one, but the coat itself coat is the very well fitting Wild Things Coat from Big Little.


Let's start with the headpiece, the entire thing is one piece. I drew a circle the size of the hood's opening and drew the spikes and ears all connected to each other. I was considering using some interfacing, but I decided against it. It does not stand up as much as I planned, but this does not bother me as much as I expected, if I would do it again I am still not sure if I would use interfacing.


I was in a hurry while sewing this coat, so instead of taking individual spikes for the back I simply drew a line of spikes. On the pictures you see the coat is wrinkled, but seeing that it is felt (although it is washable) I did not dare to steam iron it. Over the last two weeks the wrinkles have disappeared totally. I bought the washable felt at Textielstad, it was very nice to work with is soft to the touch and warm.


The tail is detachable with a single snap. I top stitched the tail to add some extra details. It is relatively small compared to the coat, but I did not wanted it to be a safety hazard.


The lining is biological Nicky from Lillestoff which I bought long ago at Joyfits. The combination of the felt and nicky gives a nice warm coat that he can wear now with temperature around zero degrees. Sewing in a stretch lining into a non stretching coat is not the most fun experience, but while using the differential on my serger, I managed.


Last time, I promised you a better pocket picture. On this picture you can see that the pockets are holes with a flap on it. It would be easy to put a zipper on them, but like I said, I was in a hurry. The fabric I used for the pockets is from old trousers from my husband. It is not the best combination with the main fabric, but I needed a thick fabric to cancel out the thick felt, and the pockets are not visible usually.

If my son puts his hands in his pockets he creates wings (he has been doing this for years with his friends from school), so this dragon can even fly. In my previous post you could have spotted a flying beaver, I love that kids have so much fantasy.


Today is the last day of sale of this coat. Visit the Big Little Pattern shop and purchase your pattern with a 30% discount for only $8.40 excl VAT (regular price $12).

 I love to hear what you think of my creations. Feel free to leave a comment in the language you prefer (although Google translate might have to assist me if you choose something different than English, German, Dutch or Hungarian).


Friday, January 22, 2016

Dyyni baby skirt, free pattern release

I promised you another coat, I know, and it will come soon, but let's have a tasty intermezzo with the new and free skirt baby version from the Dyyni skirt. Pienkel released the Dynni skirt a few months ago and here you can see my first version. Today Pienkel is releasing a free version in baby sizes, the only thing you have to do is subscribe to her newsletter, but you can read all the details in the release post.


Seeing as I already sewed and blogged the skirt, (in a bigger version) there is not much extra that I can tell you about the pattern. Except for the fact that this baby version is great for smaller scraps. This first skirt, the golden one is cut from a fat quarter. A few times before I mentioned the Fat Quarter set from Robert Kaufman that I bought at Modes4U, for this skirt I used another piece from the package. I had to cut very efficiently, but I succeeded. The gold detailed fabric is that special by itself that I thought that one layer was enough.


The second skirt is a two layered version. The top layer is a Petit Pan fabric, that I once won. The gray fabric is an uni version of the previous Soft Cactus line. My eldest did not own any skirts at this age, but this one sees her sisters wearing them every day, so she loves to get some skirt action herself.


Both my skirts have pockets, the Dyyni is one of the few patterns that has pockets included, and the explanation is perfect. You will get hooked like me, and start adding pockets to everything. The third Dyyni option, the ruffled skirt part is also explained in the baby version. My skinny 2.5 year with her 47cm waist still comfortably fitted in this baby skirt.


I made these pictures while the sun was disappearing, so there was no time for changing onesies and neat pony tails. Check out Pienkel's post on how to get this cute and free pattern, this will make a great baby gift, or just to sew your own daughter one.


dxI love to hear what you think of my creations. Feel free to leave a comment in the language you prefer (although Google translate might have to assist me if you choose something different than English, German, Dutch or Hungarian).

Wednesday, January 20, 2016

Wild Things coat blogtour, version one: the Beaver

It should not come as a surprise that I love animal inspired garments. For example, last year's spring KCW I sewed seven different animal inspired garments in one week. The newest pattern from Big Little is therefore right up in my alley! The new Wild Things Coat is packed with all kind of ears, tails, spikes etc to make the animal coat your kid has been dreaming of.


In the tester selection phase we were asked what kind of animal we would sew, one of the coats I pitched was a beaver. This animal is not one of the official 14 supplied animals so I winged the tail, ears and belly shape for this version. At the end of the pattern several extra inspiration ideas are given beyond the official options, and one of them is "my" beaver. With all the supplied animal pieces you will have enough to play with anyway, so you can come up with anything. On this tail picture my daughter has some strange bump in her back and I have not managed to figure out what is was, her knee maybe?


Lisa, the woman behind Big Little was very open to the creativity of the testers. I was also allowed to adjust the pockets. The official version of the coat has a paw shaped pocket that you can decorate with claws. My kids need more pocket space though, so I got permission to use flaps to cover up inside pockets. Because of the angle of the flap, the flaps are not perfecty covering the hole, the coat  I show you next will have a more detailed picture of better pockets. I also made the hood a little bit deeper by a small extra curve on the front.


Your kid will want to be involved in the design of this coat, mine did. My daughter was very explicit about the beaver having a white belly and a belly button, because her plush version has. I created a belly button with a star shaped snap.


The outer fabric is Robert Kaufman fleece which I bought at Fabric.com and the lining is the left over piece from this dress. As a lining does not really show, the mistakes in the fabric are not noticeable. I used a little bit of faux suede for the inside of the ears and tail, I bought it at Stoffenelf.


My eldest also demanded a coat, so I sewed her one on Sunday. Yes that is correct, I sewed it in one day. It was my third coat already so I knew what I was doing, but this coat is also a surprisingly quick sew (partly because there is no zipper). It is a coat, so do not expect to finish in two hours, but also you should not fear sewing the entire winter.


The next picture is a sneak peek of the coat I will show you next time (it was the best pic showing the belly button). There are so many beautiful versions already made by the testers, check out the blog tour page for a daily overview. But be careful though, you will be tempted to sew them all.


Anxious to start your own version? Visit the Big Little Pattern shop and purchase your pattern during the launch sale with a 30% discount for only $8.40 excl VAT (regular price $12) until Sunday.


Saturday: Adventures with Bubba and Bug and Blessed x Five

You can find the daily blog tour overview link here, there you will also find several non-blog tour tester pics.


I love to hear what you think of my creations. Feel free to leave a comment in the language you prefer (although Google translate might have to assist me if you choose something different than English, German, Dutch or Hungarian).

Friday, January 15, 2016

Hibernis shirt pattern release

Sofilantjes (affiliate link) was the first designer that let me test one of her designs, and I have been testing her patterns ever since. During every test I am again positively surprised by the special features of her patterns. Today, I am showing her newest baby, the Hibernis cowl shirt (affiliate link) . If you follow my blog you will know that I love pockets and I add them to (almost) every skirt or dress I sew, but not to shirts, never to shirts. Why not, good question, I have been wondering about that for a while. This shirt is the queen of pockets though, you can make four pockets in one shirt!


Due to the princess seams you can make two big and two small pockets in one shirt. In case you are frantically scrolling through my pictures searching for the smaller pockets, you can stop. I only made the version with two pockets, but check out the pattern listing and Anne's own post for examples with four pockets.


The other intriguing feature of this pattern is the cowl and the tabs that hold it. The cowl is removable so you can actually play with different color cowls. I was planning to sew at least two different cowls, but then I realised, if you sew the cowl in two colors and carefully fold it, you can just show one side. So the pictures of the red and yellow cowl are pictures of the same cowl showing different sides. As a third look you can show two colors at the same time.


The tabs are fixated with a snap, so this gives another opportunity to play with color. I was planning to use a white flower snap, because the fabric has some white flowers. My eldest daughter was assisting me, while I was finishing this shirt (making me slow instead of faster, but I love that she is interested in my sewing) and she insisted on red hearts. In the final pattern the tabs became slightly shorter, so they hug the cowl a bit more.


The forest fabric is from Lillestoff, I bought it a while ago and treasured it, I love it so much. I only bought half a meter (it was the last half) and because my kids are needing more and more fabric per garment, I really had to use it for something. I combined it with the orange ribbing that I got from Lillestoff.


I am a big fan of 3/4 sleeves in my own wardrobe and my middle daughter keeps complaining that all her shirts have too long sleeves, so it was a no brainer which version of the three supplied sleeve lengths I would choose. The other options are long sleeves and short sleeves. My daughter has to get used to this length, but I think she will grow to love it as much as me.


During testing, I always see other people's garments and regret not choosing a certain option. This time wasn't an exception, I wanted a contrasting fabric for the side pieces, and I wanted it now. I realised this need yesterday, which also explains why this second version doesn't have four pockets. Yesterday two hours before school ended, I quickly reused the first set of pattern pieces and sewed up a second version.


You might have noticed that the sleeve length between the two versions differ. This was not an active decision from my part, but the result of the fact that this pattern is great for using those treasured rest pieces everybody has lying around. I had a piece left from this dress, but by far It wasn't enough to make a shirt from. I could have used the fabric for just the front part of any shirt, but I wasn't convinced that would be the optimal use. While I was searching my stash for the perfect fabric for my second Hibernis, my eyes fell on this fabric. I could cut the front, the pockets and two shorter sleeves (I had to sew two pieces together for one of the sleeves though) from the piece I had, and the leftovers were all smaller than the 15 x 15 cm rule I have for saving scraps.


My girl wasn't in the mood for a photo shoot, but because I was blogging on release date, I kind a pushed her. The pictures speak for themselves, she was not in the mood. Fortunately, I could make them inside, if I would have tried to go outside in the shirt alone she would have been crying on all pictures for sure, she hates the cold.. it isn't always a blessing if your mom has a sewing blog.


This has become a very long post, so to summarize, the Hibernis is great for color blocking, using scraps of treasured fabric, playing with pockets (what about curved ones, let those create juices flow) and changing up the look with different cowls (you could probably fold the tabs inwards under the shoulder line when not in use, I haven't tried it but I saw another tester do it). The pattern is for sale this weekend for $5 (excl. tax) both in Dutch and English pdf.


You might have noticed that this is my first post using affiliate links. I didn't do it on purpose until now, I feared people would think I would be too biased. I am giving it a try though now. I feel I have found my own sound and style over the last year and I think affiliate links will not change that, they might change how much fabric I can buy though!


I love to hear what you think of my creations. Feel free to leave a comment in the language you prefer (although Google translate might have to assist me if you choose something different than English, German, Dutch or Hungarian).